Best Cement Types for Foundation Repair: Choosing the Right Mix
 Jul, 4 2025
Ever stare at those stubborn cracks snaking up your basement wall and wonder if your house is staging a slow-motion escape attempt? Foundation problems have that way of making grown adults google cement mixes at midnight. Nobody wants a wobbly kitchen table because the ground beneath is shifting. Yet the wrong cement can turn a simple fix into an expensive, recurring nightmare.
Understanding Why Foundation Repairs Need the Right Cement
Foundation repairs aren't like spackling a nail hole. They demand muscle, chemistry, and a little bit of science. The typical home foundation supports more than 100,000 pounds. If you're patching cracks or rebuilding footings, any old bag of concrete from the hardware store won't cut it. The cement you use must bond strong, set right, and last decades without crumbling.
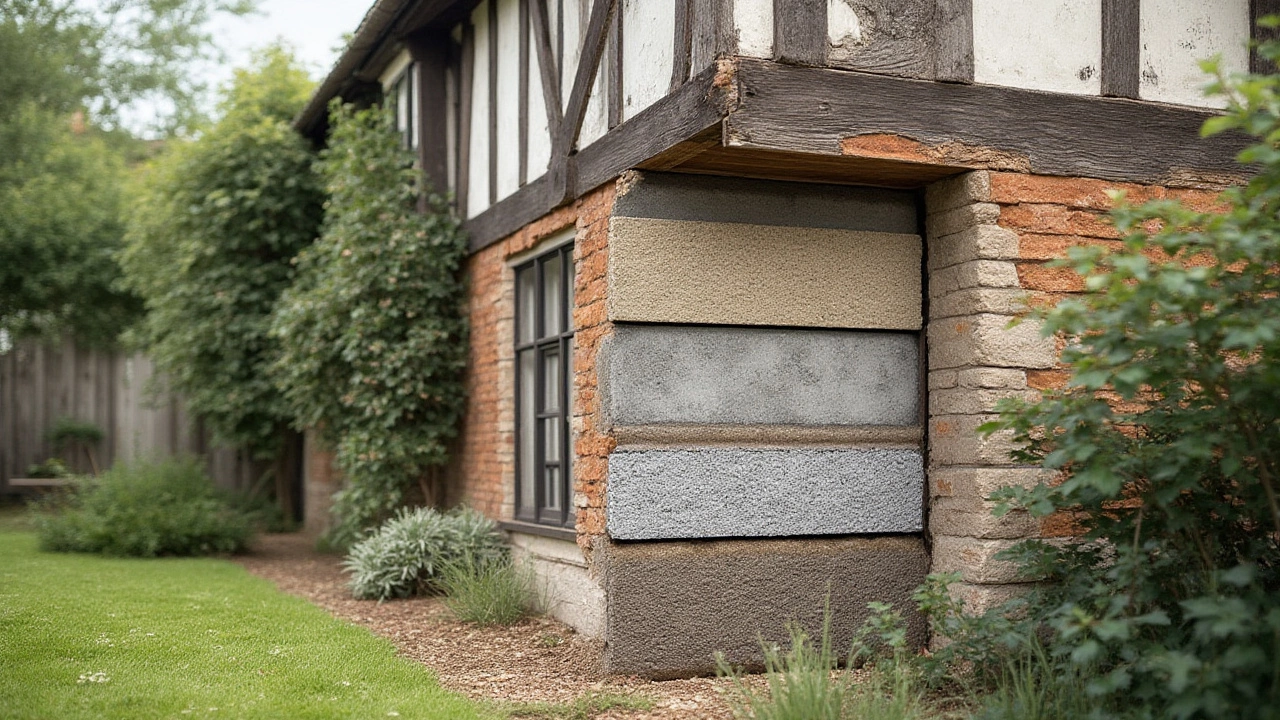
Concrete is a mixture—cement, sand, gravel, and water working together. The heart of it, though, is just the cement. Portland cement is the basic choice, but not all Portland is created equal. The construction industry breaks it down by types—Type I, II, III, IV, and V—each engineered to handle specific environments and stresses. Type I is the Joe Average of the group—works for general stuff, but not impressive under stress or chemical attack.
If your house sits in a place with lots of rain or freezing cycles, you’ll appreciate cement labeled “sulfate resistant” or “high early strength.” Sulfates in soil can rot a poor mix over the years. That’s how foundations crumble from below, sometimes taking a family’s peace of mind with them.
Of course, the mix ratio plays its part too. A strong repair is about proportions: usually a 1:2:3 blend of cement, sand, and gravel by volume. But even a perfect ratio isn’t a magic bullet if your cement isn’t right for the job. Fast-setting cements can help stop water leaks quickly, but they’re tricky if you need time to smooth things out. And high-strength mixes? They need respect; mess up the water balance, and you’ll lose both your bond and your Saturday.
As for how much matters? The average American foundation repair can cost anywhere from $2,000 to $7,000 depending on the problem, according to the National Association of Realtors in a recent 2024 survey. Choosing the right cement could keep your costs near the bottom, instead of blowing up your budget later.
Here’s a table that breaks down the common types of cement for repair work:
| Cement Type | Main Feature | Best For |
|---|---|---|
| Portland Type I | General use, average strength | Footpaths, non-critical patching |
| Portland Type II | Sulfate resistance, moderate heat | Foundations in wet/variable climates |
| Portland Type III | High early strength | Quick turn-around projects |
| Hydraulic Cement | Sets fast, stops water instantly | Leaking cracks, active water intrusion |
| Sulfate-Resistant Cement | Prevents sulfate attack | Foundations in high sulfate soils |
People don’t always appreciate the hazards of using whatever’s leftover in the garage. If you’re patching a crack that just keeps returning, you might be chasing a deeper issue. An improperly matched cement might look good for a year, but saturated soil or soil movement will bring that damage back—sometimes worse.
Cement Types Compared: Strengths, Weaknesses, and When to Use
Every cement has its specialty, and the foundation might just be the most demanding gig. Let’s break down which types shine and which can get you in trouble.
Cement for foundation repair isn’t just labeled “made for bricks and sidewalks.” Foundation repairs need cement that handles serious pressure, water, and sometimes, chemical attacks. Portland Type II is often the go-to for foundations. The extra sulfate resistance helps when the soil or groundwater is on the aggressive side—think areas with a lot of rain, freeze-thaw cycles, or clay-heavy dirt.
People love Type III for quick jobs. It gets hard fast. If you’re fixing a busy driveway or want to minimize downtime, Type III helps you wrap things up ahead of schedule. The heat it creates while setting can be a downside, though. Hot mixes dry too quick in summer—leading to shrinkage, which is another way for cracks to come back. So don’t reach for Type III if you aren’t sure what you’re doing.
Hydraulic cement is a unique fix for active leaks. I’ve used it in the past when a harmless-looking crack started weeping after a summer storm. Its magic trick? It sets under water, making it perfect for patching spots you can’t get dry. But you wouldn’t use it for large repairs—it’s a spot solution, not a foundation rebuild.
Here's a pro tip nobody tells you: always check the cement shelf life. Cement absorbs moisture from the air, turning lumpy and weak if stored too long. If you see hard clumps in the bag, or it feels almost rock-like, don’t risk it. Foundation repairs need full-strength bonding, so always start with fresh cement.
Some specialty mixes add fibers or polymers for flexibility. These can help in soils that move a lot or for old houses where rigid repairs can lead to new cracks showing up nearby. Adding a latex bonding agent to your mix can also improve adherence, especially if the old foundation surface is a little dusty or weathered.
So, when disaster strikes, resist the urge to just buy the first bag you see at the store. Ask for a mix meant for foundations—or, at the very least, for structural repairs. Look for Type II Portland or a blend with added sulfate resistance. This approach has spared more than one friend from redoing the same job a year later.
Be careful with additives promising super-fast cure times. Repairs that set too quickly can’t be adjusted if something goes wrong, and fast drying means a higher risk of shrinkage cracks. Slow and steady wins this race.
The right mix should give you a little working time, resist water, and bond tightly. If you have expansive clay soil, think about a product that adds flexibility. And if you’re dealing with an emergency, don’t be afraid to call in a pro for an opinion before you commit—no shame in getting it right the first time.
Foundation Repair Tips and Steps for Mixing Cement Like a Pro
Patching foundations isn’t just about dumping wet concrete in a hole and hoping gravity helps. Technique matters, and small mistakes can blow up later—usually during a rainstorm or when the house settles again.
First, always clean the repair area. Get rid of loose debris, dirt, grease, or old paint. Even the best cement won’t bond to a muddy, dusty surface. Sometimes a wire brush and some elbow grease are better than fancy tools—when my wife Natalie and I fixed up our first home, we learned that the hard way. Damp the area before applying cement. The old surface shouldn’t be dripping, but bone-dry concrete will suck water from your patch, making it brittle.
Mixing is where most DIYers slip up. Use clean, cool water, and measure your mix. Don’t eyeball it. For small jobs, a five-gallon bucket and a sturdy wooden stick work just fine. Add water slowly. Go for a consistency like thick peanut butter—sticky, but not runny. Too much water weakens the finished cement by spreading out the bonds, making the repair prone to cracking.
Here’s a step-by-step crash course for a simple patch:
- Chisel the damaged area into a square shape; sloped or feathered edges don’t hold.
- Clean and dampen the spot with a spray bottle or sponge.
- Use a bonding agent if the repair is wide or deep—brush it on according to instructions.
- Prepare your fresh cement: mix only as much as you can apply in 15-20 minutes.
- Pack the cement firmly into the crack or hole, pressing out air bubbles as you go.
- Smooth the surface; don’t overwork it, or bleed water will rise and weaken the bond.
- Cover the patch with damp burlap or plastic. It helps cement cure slowly, giving it more strength.
- Avoid full weight on the repair for at least 24 hours, even longer if temperatures are cold or humid.
Now, don’t skip the curing step. The first 48 hours after mixing matters most. Slow drying gives cement molecules time to knit together. So, if it’s a summer scorcher, lightly mist the area a couple of times a day, or lay a wet cloth over the patch for extra insurance.
If your patch keeps coming back, check your gutter drainage, soil grading, and root invasion. Foundations crack for a reason—fix the root problem, or the cement’s just a Band-Aid. Also, keep an eye on the weather: rain in the first few hours can wash out the bonds, and freezing temps are a no-go for fresh cement. Wait for a dry stretch with mild temps if you can.
One last thing: document your repairs. Not only does it help if you sell your house later, but if things shift again (and ground sometimes does!), you’ll have a clear record of what was patched, what mix was used, and whether you need to escalate to a professional. Trust me, few things help at 3 a.m. when you spot a new crack spreading across the basement floor and can pull out your notes on what product you used last time.
Foundation issues aren't just about property value—they’re about peace of mind. With the right method, a little patience, and the best cement for your soil and problem, you’ve got a fighting chance against shifting ground. That stubborn old house of yours might just stick around for several lifetimes—solid as ever, table legs all steady, no more midnight mix panics.