
How to Renovate a Bathroom Cheaply: A Practical Guide for 2026
 May, 28 2026
Bathroom Renovation Cost Estimator
Estimated Total (NZD)
Up to $1,000+
Tip: Keeping the plumbing footprint is the #1 way to save money.
Warning: Plumbing and electrical work require licensed pros in NZ.
Walking into a dated, cramped, or simply tired-looking bathroom can feel like a daily drag. You want an upgrade, but the moment you look at current contractor quotes in Wellington or anywhere else in New Zealand, your stomach drops. The numbers are steep. But here is the truth: you do not need to empty your savings account to get a functional, stylish space. A cheap bathroom renovation is entirely possible if you change how you approach the project. It is less about spending zero money and more about spending it where it actually counts.
The biggest mistake homeowners make is trying to do everything at once. They tear out tiles, replace plumbing, move walls, and buy new fixtures all in one go. That is how budgets explode. Instead, we need to look at this as a series of strategic moves. By focusing on high-impact, low-cost changes and knowing exactly when to hire a professional versus when to pick up a drill yourself, you can transform your space without the financial heartburn.
The Golden Rule: Keep the Footprint
If you want to save money, leave the pipes alone. Seriously. Plumbing is expensive. Moving a toilet, sink, or shower requires a licensed plumber, breaking concrete floors, and rerouting water lines. In New Zealand, compliance with the Building Code means you cannot just hack around with copper pipes; it has to be done right. So, before you buy a single paint swatch, decide that the layout stays exactly where it is. This single decision can save you thousands of dollars upfront.
Keeping the footprint also means keeping the wet area in the same spot. If your shower is currently in the corner, keep it there. If the vanity is against the north wall, let it stay. This allows you to focus your budget on aesthetics rather than structural engineering. You can still make the room feel bigger through design tricks, which we will cover later, but physically moving fixtures is the fastest way to blow your budget.
Refresh, Don’t Replace
New things are nice, but they are pricey. The secret to a cheap renovation is realizing that many of your existing items just need a little love. Let’s look at the big three: cabinets, tubs, and tiles.
Cabinets: Do you hate your old vanity? Before you trash it, sand it down and paint it. A coat of high-quality enamel paint in a crisp white or a deep navy can make a 15-year-old cabinet look brand new. Swap out the hardware-handles and knobs are cheap online-and suddenly, you have a custom look for under $50.
Tubs and Showers: Replacing a bathtub is a nightmare of demolition and disposal. Instead, consider refinishing. There are kits available that allow you to strip the old finish and apply a new epoxy coating. It takes a weekend, some elbow grease, and proper ventilation, but it costs a fraction of a new installation. For showers, if the tiles are intact but grout is dirty, regrouting them can brighten the entire space.
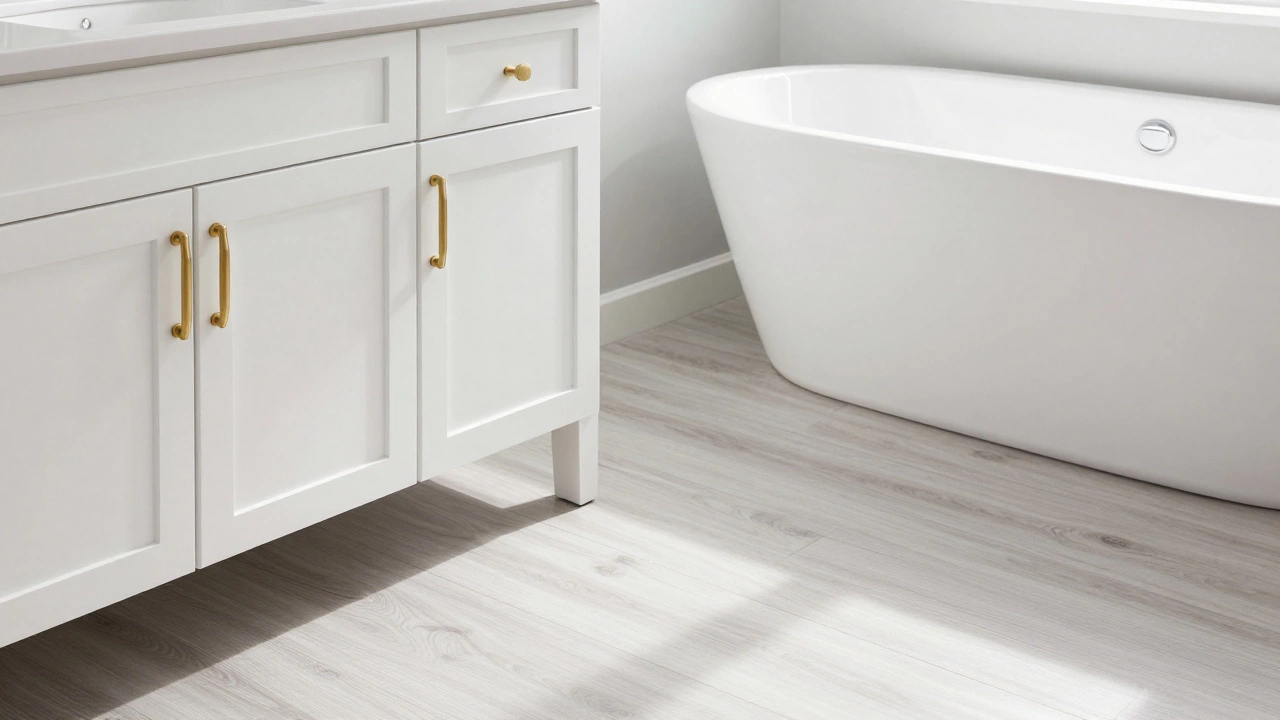
Flooring: Tiling is labor-intensive and costly. If your current floor is sound, look into luxury vinyl plank (LVP) or sheet vinyl. These materials are waterproof, durable, and incredibly easy to install. Many LVP options click together without glue, making them perfect for a DIYer. You can lay a full bathroom floor in a day for a few hundred dollars, compared to the thousands for ceramic tile installation.
| Item | Refurbish/DIY Cost (NZD) | Replace/Pro Cost (NZD) | Savings |
|---|---|---|---|
| Vanity Cabinet | $50 - $100 (Paint + Hardware) | $800 - $2,500 | High |
| Bathtub | $150 - $300 (Refinishing Kit) | $1,500 - $4,000 | Very High |
| Flooring | $200 - $400 (Vinyl Plank) | $1,200 - $3,000 (Tile + Labor) | High |
| Mirror | $0 (Clean/Frame DIY) | $150 - $500 | Medium |
Lighting and Mirrors: The Illusion of Space
Small bathrooms often feel cave-like because of poor lighting. You don’t need to rewire the whole house to fix this. Start by swapping out dimmer switches for brighter LEDs. Choose bulbs with a color temperature of 4000K to 5000K; this mimics natural daylight and makes the space feel cleaner and larger.
Mirrors are your best friend. A large mirror reflects light and visually doubles the size of the room. If you can’t afford a custom frameless mirror, buy a standard one from a hardware store and build a simple frame using wood molding. Paint the frame to match your walls or contrast it for drama. Hang it opposite a window if possible to bounce natural light deeper into the room.
Also, check your existing light fixtures. Often, a quick trip to a discount retailer can get you a modern sconce or ceiling mount for under $30. Just ensure you turn off the power at the fuse box before touching any wires. If you are unsure about electrical work, this is one place where hiring an electrician for an hour is worth the peace of mind.
Smart Storage Solutions
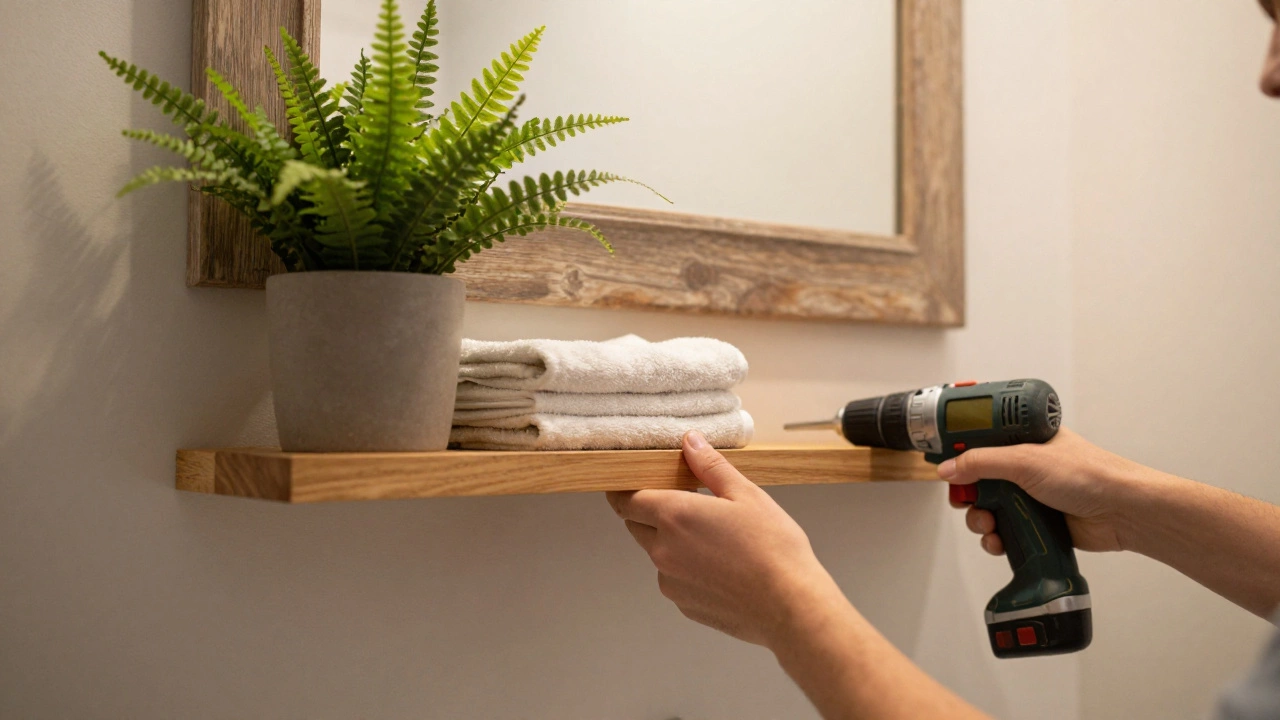
Clutter makes a bathroom feel small and messy. Clearing surfaces instantly upgrades the look. But where does everything go? Vertical space is free real estate. Install floating shelves above the toilet or beside the sink. Use tension rods inside cabinets to stack cleaning supplies vertically. Over-the-door organizers are great for towels and hair tools.
Look for multi-functional furniture. A vanity with built-in drawers saves you from buying separate storage units. If you have a small powder room, consider a wall-mounted sink. It exposes the floor underneath, creating a sense of openness and making cleaning easier since there’s no base to wipe around.
Where to Shop Smart
Your shopping strategy matters as much as your design choices. Avoid big-box showrooms for every item. Here is where to look:
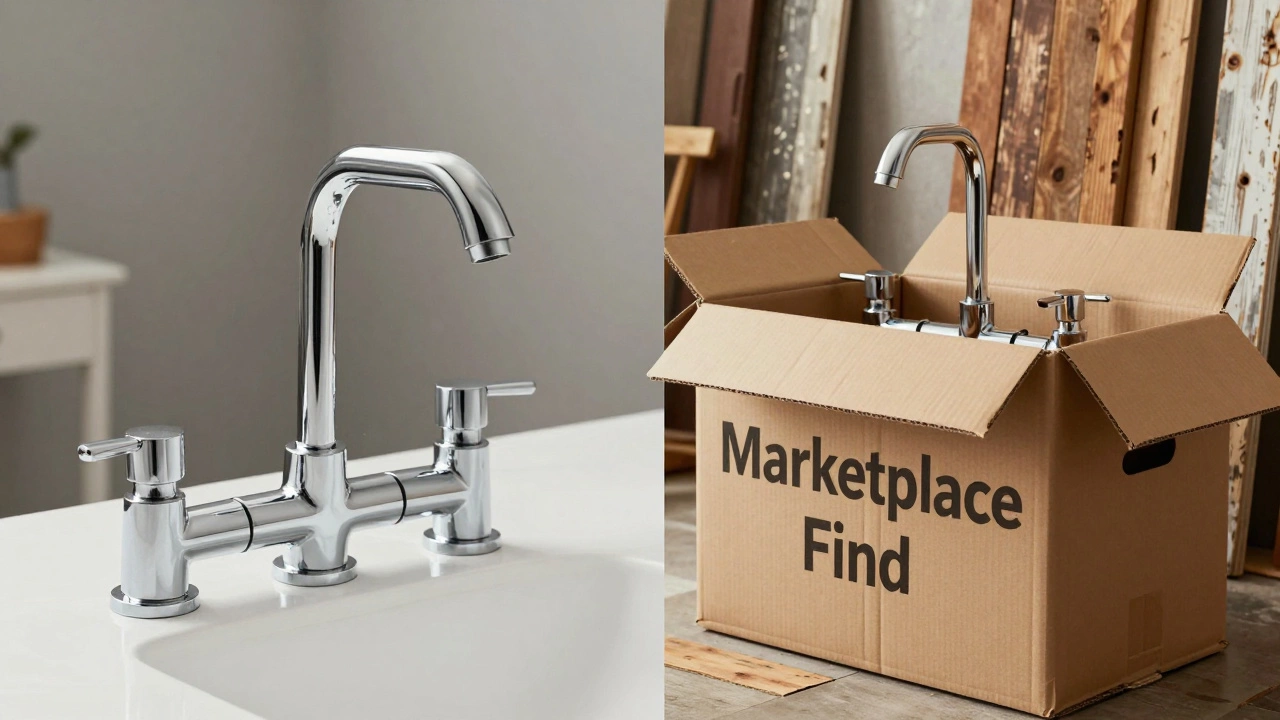
- Facebook Marketplace and Trade Me: People renovate and sell their barely-used fixtures. You might find a high-end tapware set for half price because the owner changed their mind mid-project.
- Discount Builders Merchants: Stores that sell overstock or slightly damaged goods often have tiles, sinks, and mirrors at significant discounts. Check for minor chips that won’t be visible once installed.
- Local Salvage Yards: These are goldmines for unique character pieces. Old medicine cabinets, vintage towel racks, and reclaimed wood can add charm without the premium price tag.
- Online Retailers: Compare prices online. Sometimes shipping costs eat into savings, so factor that in. Look for bulk deals on grout, caulk, and paint.
DIY vs. Hiring Pros: Knowing the Line
In New Zealand, certain tasks legally require licensed professionals. You cannot legally do your own plumbing or electrical work if you plan to sell the house or insure it properly. However, you can do a lot of the prep and finishing work.
DIY Tasks: Painting, installing vinyl flooring, mounting mirrors, applying caulk, assembling furniture, and removing old fixtures (if careful). These tasks save labor costs, which are often the highest part of a quote.
Pro Tasks: Any work involving water supply lines, drainage, wiring, or structural changes. Hire a licensed plumber for leak checks and connections. Hire an electrician for new outlets or lighting circuits. Getting these wrong can lead to mold, electrocution, or failed building inspections, which cost far more to fix than hiring someone initially.
Avoiding Common Pitfalls
Even with a tight budget, mistakes happen. Here is how to avoid the most common ones:
- Underestimating Materials: Always buy 10% more material than you calculate. Running out of vinyl planks halfway through means waiting for a delivery and potentially dealing with batch color variations.
- Ignoring Moisture: Bathrooms are wet zones. Ensure you use moisture-resistant paint and seal all edges with quality silicone caulk. Skipping this leads to mold and rot, which destroy your renovation.
- Rushing: Take your time with prep work. Sanding, cleaning, and priming take longer than painting, but they determine how long the finish lasts. Rushing leads to peeling paint and uneven floors.
- Buying Everything at Once: Stagger your purchases. Buy what you need for the first phase, then wait. Prices drop, sales happen, and you might find better deals later. Plus, it prevents decision fatigue.
Final Touches: Soft Furnishings
Once the hard work is done, soft furnishings bring personality. Swap out old towels for fresh, neutral colors. Add a small rug near the sink for comfort. Place a potted plant that tolerates humidity, like a spider plant or fern, to add life. These items are inexpensive and can be changed seasonally to refresh the look without another renovation.
Remember, a cheap bathroom renovation is about creativity and constraint. It forces you to think differently about space and value. By keeping the layout, refreshing existing items, and doing smart DIY work, you can create a bathroom that feels luxurious without the luxury price tag. Start small, stay focused, and enjoy the process of transforming your space.
Can I renovate my bathroom myself in New Zealand?
Yes, you can do many aspects of a bathroom renovation yourself, such as painting, tiling (non-wet areas), installing vinyl flooring, and assembling fixtures. However, plumbing and electrical work must be done by licensed professionals to comply with the New Zealand Building Code and insurance requirements. Always check local council regulations before starting major work.
What is the cheapest way to update a bathroom?
The cheapest method is to keep the existing layout and fixtures while updating finishes. Paint cabinets, regrout tiles, replace hardware, and improve lighting. Using peel-and-stick backsplash or vinyl flooring can also provide a modern look at a low cost. Avoid moving plumbing or electrical points.
Do I need a building consent for a bathroom renovation?
In New Zealand, you generally do not need a building consent for cosmetic changes like painting, replacing taps, or changing flooring. However, if you are altering plumbing, drainage, or structural elements, you likely need consent. Check with your local council to be sure, as rules can vary by region.
How much does a cheap bathroom renovation cost?
A budget-friendly bathroom renovation can range from $1,500 to $4,000 depending on the size and extent of DIY work. This includes painting, minor fixture swaps, and vinyl flooring. Major replacements like tubs or toilets will increase costs significantly. Planning carefully helps keep expenses within this lower bracket.
Is it worth refinishing a bathtub instead of replacing it?
Yes, if the tub is structurally sound. Refinishing costs a fraction of replacement and avoids demolition mess. While it may not last as long as a new tub, it provides a fresh look for years. Ensure you follow kit instructions carefully for durability. It is a great option for budget-conscious renovations.