Prevent Cracks in Your New Build: Step‑by‑Step Guide
 Oct, 10 2025
Crack Severity Checker
Crack Assessment Results
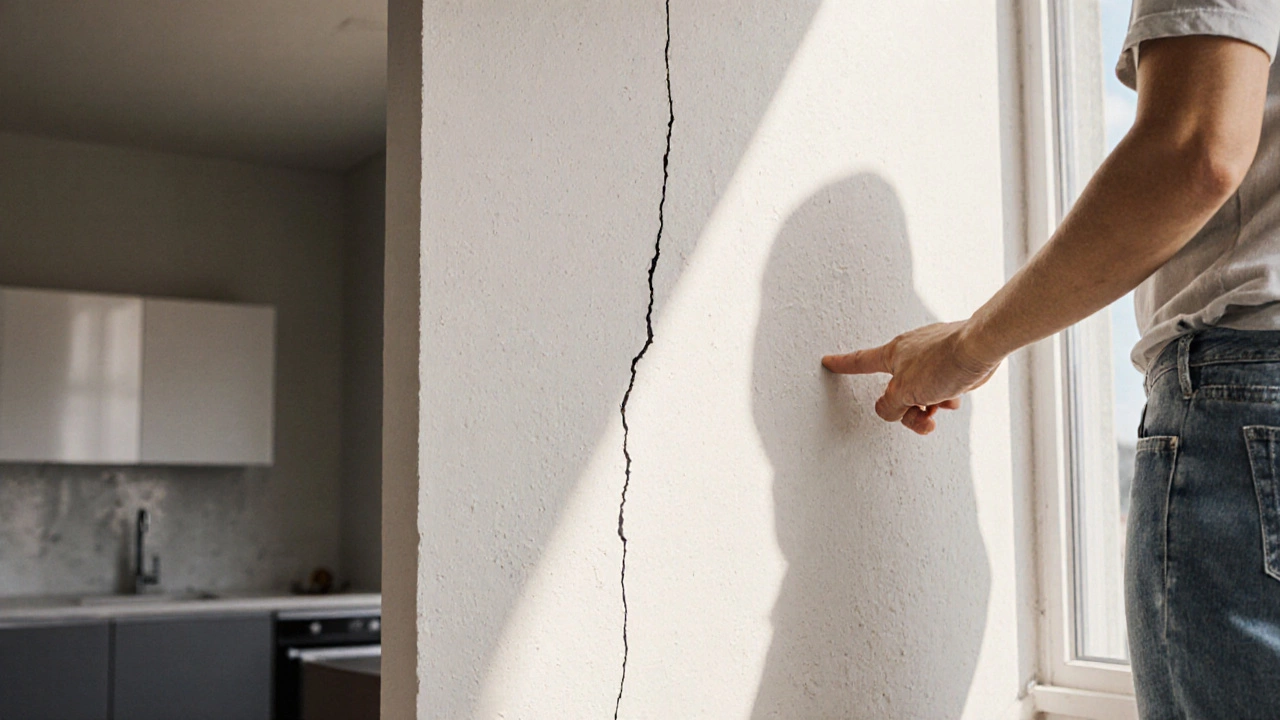
Cracks showing up in a freshly built home feel like a punch to the gut-especially after months of planning and spending. The good news? Most cracks aren’t a sign of disaster; they’re often avoidable if you know the usual culprits and the right steps to stop them before the concrete sets.
Why cracks appear in new builds
When you hear the word Cracks in new builds are fractures that develop in walls, floors, or foundations during or shortly after construction, the first thought is usually “something went wrong”. In reality, concrete and masonry naturally shrink as they cure, and any movement in the supporting soil can tug at the structure. If those forces aren’t accounted for, the material gives way and a crack forms.
Key factors that cause cracking
- Foundation settlement movement of the building’s base caused by uneven soil compression
- Concrete shrinkage reduction in volume as water evaporates during curing
- Thermal expansion expansion and contraction of materials due to temperature changes
- Improper reinforcement insufficient steel rebars or mesh that can’t hold tensile stresses
- Moisture variation rapid wet‑dry cycles that make the substrate swell or shrink
- Lack of expansion joints missing gaps that allow the structure to move without cracking
- Sub‑standard materials low‑grade concrete, inadequate admixtures, or old cement
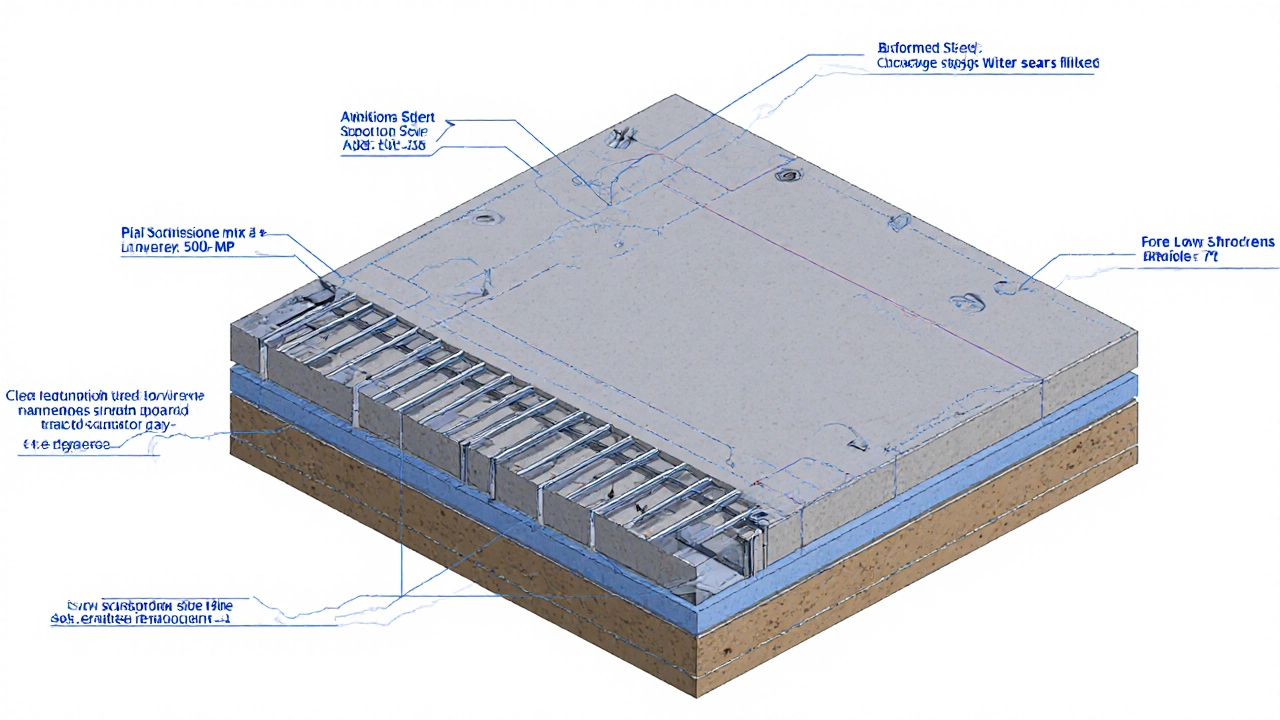
Designing to reduce cracking
Good design starts long before the first shovel hits the ground. Architects and engineers should incorporate these three design tricks:
- Leave expansion joints movable gaps filled with flexible sealants at regular intervals-typically every 6-9m for concrete slabs. These joints absorb movement and keep cracks from spreading.
- Specify a minimum concrete compressive strength of 25MPa (or higher for high‑load areas) and use a low‑shrinkage mix that includes fly ash or silica fume.
- Work with a structural engineer to calculate expected soil movement and design a foundation with reinforcement steel bars or mesh laid according to code requirements that can handle tensile stresses.
Choosing the right materials
Materials matter more than most people think. Here’s a quick rundown of what to look for:
- Concrete mix: Use a TypeII or TypeIII mix for better workability and lower heat of hydration, which reduces thermal cracking.
- Admixtures: Add a shrinkage‑reducing admixture (SRA) at 0.5-1% of cement weight. It can cut drying shrinkage by up to 40%.
- Reinforcement: Opt for deformed steel bars (grade 500MPa) with a spacing of no more than 150mm in slabs and 200mm in walls.
- Water‑proofing membranes: Apply a 1‑mm liquid‑applied membrane under the slab to keep ground moisture from seeping in during curing.
Construction practices that stop cracks
Even the best design will fail if the crew cuts corners. Adopt these proven practices on site:
- Proper sub‑grade compaction: Use a plate compactor to achieve at least 95% of the Proctor maximum density. Uneven compaction is a leading cause of settlement.
- Controlled pouring sequence: Place concrete in sections no larger than 15m² at a time to keep temperature gradients low.
- Vibration and finishing: Use a concrete vibrator for 6-8seconds per 0.5m³ to eliminate voids, then finish with a smooth trowel without over‑working the surface.
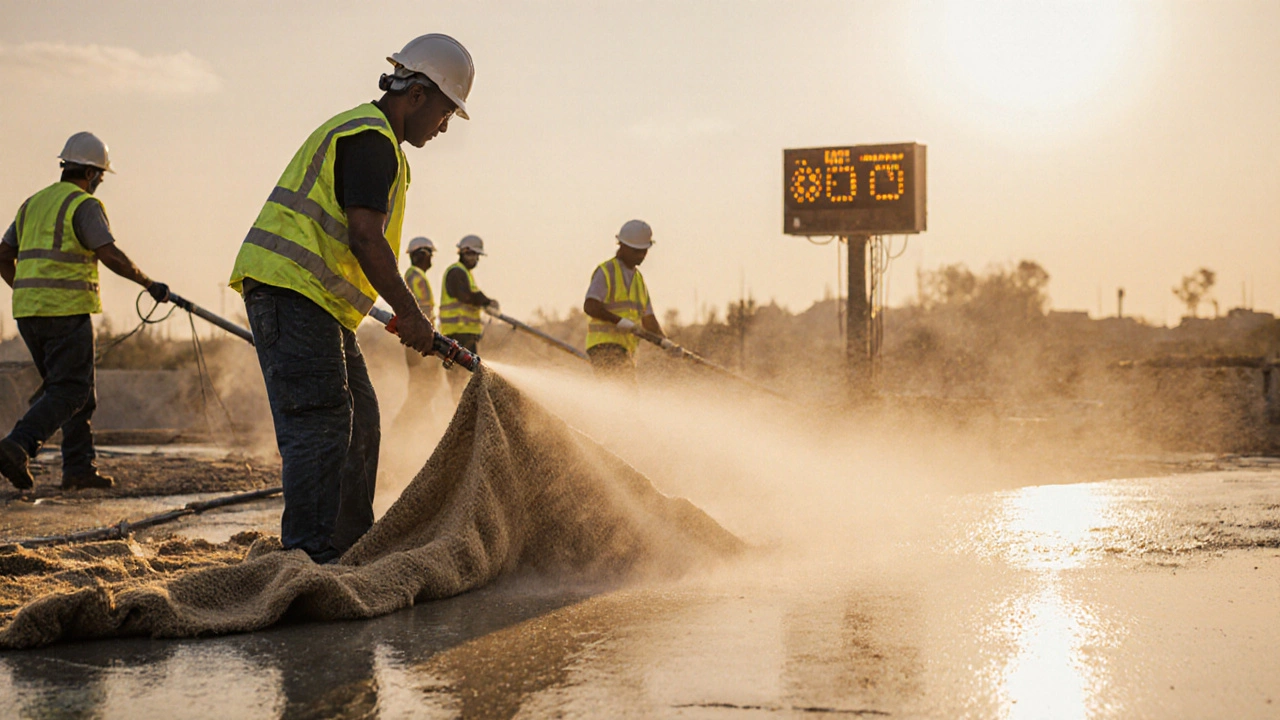
- Moist curing: Cover the slab with wet burlap or a curing blanket for at least 7days. This keeps the surface temperature within 10°C of the interior temperature, slowing shrinkage.
- Weather monitoring: Avoid pouring when temperature swings exceed 10°C within 24hours or when high winds could dry the surface too fast.
Managing moisture and curing
Moisture is the silent partner in cracking. Follow this two‑phase moisture plan:
- Phase1 - Initial cure: Keep the slab continuously wet for the first 48hours. Sprinklers, misting systems, or polyethylene sheets work well.
- Phase2 - Post‑cure protection: After the first two days, maintain a damp environment for at least another 5days. Use curing compounds that form a thin, breathable film.
Remember, the curing process the method of maintaining moisture and temperature in fresh concrete is where you make or break the slab’s durability.
Inspection and early correction
Catch a problem before it spreads. Perform these checks during and after construction:
- Use a straightedge to scan floors for the “sag‑and‑rise” pattern that indicates uneven curing.
- Run a crack‑width gauge on any visible fissures; widths under 0.5mm usually self‑heal with proper curing.
- Document the location of all joints and ensure sealants are fully cured before exposing the building to traffic.
- If settlement is suspected, engage a geotechnical engineer to measure differential movement with laser levels.
Early repair-like injecting epoxy into a small hairline crack-prevents water ingress and structural weakening later on.
Quick checklist for crack prevention
| Task | Why it matters | How to verify |
|---|---|---|
| Site soil test | Identifies moisture‑expansion potential | Review geotech report for bearing capacity ≥ 150kPa |
| Compaction to 95% Proctor | Prevents foundation settlement | Use nuclear density gauge or sand cone test |
| Expansion joints every 6‑9m | Absorbs thermal and shrinkage movement | Measure joint spacing on plan vs. as‑built |
| Low‑shrinkage concrete mix | Reduces drying shrinkage stress | Check mix design for shrinkage‑reducing admixture inclusion |
| Moist curing 7days | Maintains proper hydration | Inspect curing blankets or water sheets daily |
Frequently Asked Questions
What size of crack is serious in a new home?
Cracks wider than 2mm, especially those that run vertically through walls or horizontally across slabs, often indicate structural movement and should be inspected by an engineer. Hairline cracks under 0.5mm usually heal on their own with proper curing.
Can I use regular Portland cement for a high‑rise slab?
For high‑rise structures, a low‑heat, high‑early‑strength cement (TypeII or III) is recommended. It reduces temperature differentials that cause thermal cracking and reaches design strength faster, allowing earlier form removal.
How often should expansion joints be inspected?
Inspect them at least once a year, and after any major temperature swing or after the first winter. Look for sealant degradation, missing filler, or water leakage.
Is a moisture barrier necessary under a slab?
Yes. A 1‑mm liquid‑applied or sheet membrane prevents ground moisture from being absorbed into the concrete during curing, which can cause uneven shrinkage and later floor‑rise.
What’s the best way to repair a hairline crack?
Clean the crack, apply a low‑viscosity epoxy injector, and let it cure per manufacturer’s instructions. This restores structural continuity and stops water ingress.
By tackling design, material choice, and on‑site practices together, you dramatically lower the odds of unsightly or structural cracks. Follow the checklist, keep an eye on moisture, and you’ll enjoy a smooth, crack‑free finish for years to come.