Bathroom Renovation Order: Step-by-Step Guide for Refurbishments
 Jun, 10 2025
If you’ve ever tried to brush your teeth while stepping over paint buckets and exposed pipes, you know bathroom renovations are no joke. The order you do things isn’t just a detail—it’s what keeps you from living in a construction zone way longer than planned.
First tip: don’t just rip out the toilet because you’re tired of looking at it. Start with a solid plan that covers what you want to change, how much you can spend, and what really bugs you about your current setup. This isn’t a splash of new paint—it’s a full-on process, and skipping steps can leave you with leaks, weird smells, or delays that drive you (and your family) nuts.
If you get the order right, you won’t have to backtrack or re-do stuff. Nobody wants to tile a floor only to find out the plumbing behind the wall is wrong. Plus, having a roadmap saves you money, time, and a lot of stress. Stick around and I’ll walk you through how to do it—one battle at a time—so you end up with a bathroom you’ll actually want to show off (even to your in-laws).
- Planning: The Secret Weapon
- Prepping and Demolition Done Right
- Rough-In: The Messy Magic
- Installing Surfaces and Fixtures
- Finishing Touches and Clean-Up
Planning: The Secret Weapon
A lot of folks get excited and start smashing tiles before they know what they want their new bathroom to look like. Bad move! Getting your head clear on what you need and want is step one. It saves money and drama—trust me, I’ve learned that lesson more than once.
Sit down and figure out what bugs you most about your current bathroom. Is it the never-ending leaky tap? The lack of space for toothbrushes? Knowing your priorities keeps your bathroom renovation order focused.
Sketch out a rough layout if you can. Even stick figures work. A basic drawing can help you decide where stuff will go and if you need to move plumbing or wiring, which can be costly and messy. If your budget is tight, keeping the toilet, sink, and shower in the same place will save you big time.
Make a budget range, not just a single number. Prices for materials have jumped—ceramic tile, for example, saw a 12% increase in average cost in the last two years. Check out this table for a ballpark idea of what you might spend, based on 2024 UK averages:
| Item | Average Cost (£) |
|---|---|
| Toilet | 150–400 |
| Vanity Unit | 120–600 |
| Ceramic Tiles (per m²) | 25–50 |
| Shower (Basic–Luxury) | 200–1200 |
| Labour (per day) | 150–250 |
After the budget comes the timeline. A small bathroom takes an average of 2–3 weeks for pros but give yourself extra time if you’re doing it with mates or on nights and weekends. No one gets it done as fast as those reality TV shows.
- List what *must* get replaced versus what can stay.
- Figure out if you’ll need planning permission for major layout changes (it’s rare, but always worth checking).
- Collect inspiration—photos, product links, even samples if you’re nerdy like me.
- Book any trades (plumbers, electricians) ahead. The good ones are always busy, especially in the spring and summer.
Smart planning also means thinking about how you’ll survive without the bathroom for a stretch. Family of four, one bathroom? Now’s the time to make friends with your neighbours—or rent a portable loo. Thorne still brings up the time we all had to ‘camp’ in the kitchen during our last reno, Rufus included.
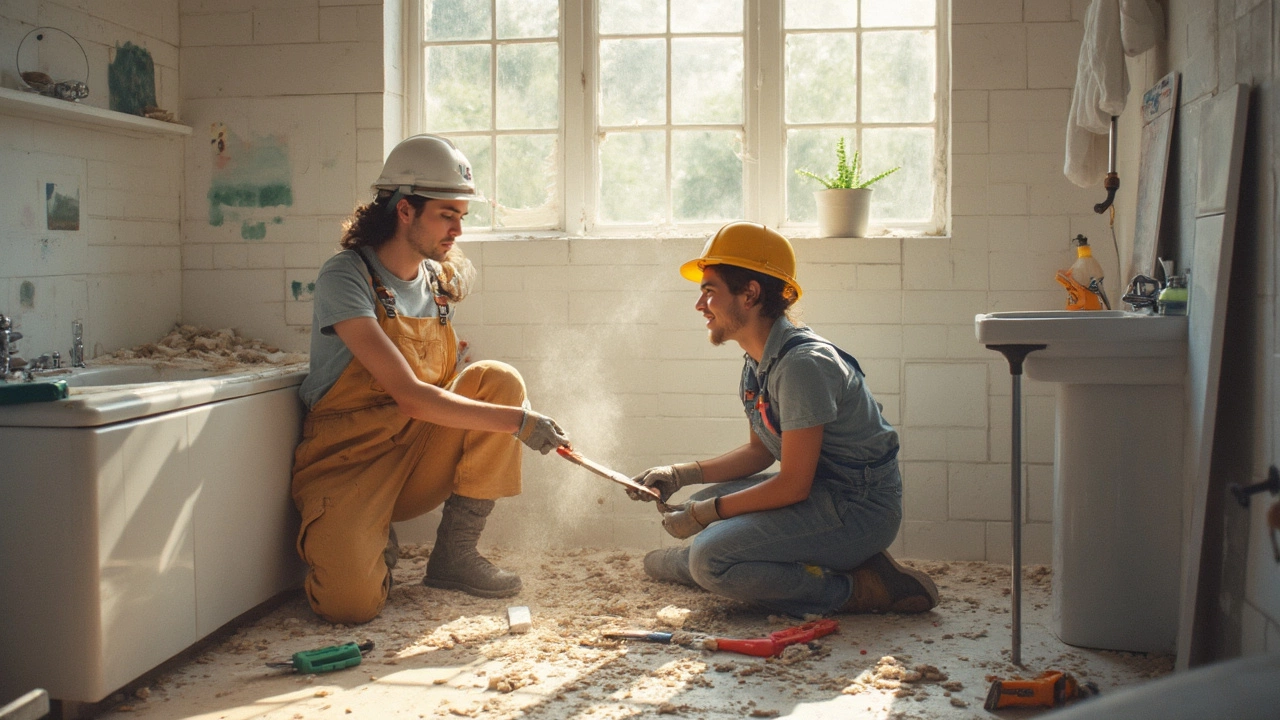
Prepping and Demolition Done Right
Before you let the sledgehammer fly, you’ve got to prep. This part isn’t flashy but skipping it is a recipe for disaster. Clear everything out—soaps, towels, that shampoo bottle collection. Turn off the water at the main shutoff valve and flip the circuit breakers to the bathroom to avoid any shocking surprises. Trust me, water + electricity isn’t the kind of excitement you want.
Next, protect what isn’t getting yanked out. Tape plastic sheeting over doors, lay down old sheets or tarps to save your floors, and seal vents so dust doesn’t invade the rest of your place. If you have pets like my dog Rufus, make sure they can’t wander in and step on something sharp.
Now comes the real action—demolition. Always start from the top (ceiling, then walls, then floor). This keeps debris from smashing finished surfaces on the way down. Here’s a smart order for a clean bathroom renovation order:
- Remove mirrors, shower doors, and towel bars.
- Take out the vanity and sink. Disconnect plumbing first to avoid a mess.
- Remove the toilet—drain it first or you’ll regret it.
- Pry off wall tiles and drywall if needed. Watch for hidden pipes and wires.
- Pry up the flooring. Work slowly if you plan to save the subfloor.
Demolition on a standard-sized bathroom (about 35-40 square feet) can usually be done in a day or two if you’re organized. Here’s a quick look at how most folks pace these tasks:
| Task | Average Time (hours) |
|---|---|
| Remove fixtures | 2-3 |
| Wall and ceiling demo | 2 |
| Floor demo | 1-2 |
Keep a shop vac and heavy-duty trash bags close by because you’ll have more debris than you’d think. Don’t forget to check with your local waste service—a lot of cities won’t just take demolition debris with regular trash. Renting a dumpster or a Bagster is usually a smart move.
By the way, not everything has to get trashed. Donate that old vanity or working toilet to a repurpose center or sell it online. Someone might want that retro look for their place.
Rough-In: The Messy Magic
This is the part where things look wild: open walls, dangling wires, exposed pipes—it’s like peeking behind the curtain of your bathroom for the first time. The rough-in stage is all about running the guts—plumbing, electrical, and ventilation—before anything pretty goes in. Get this right and everything that follows is much, much easier.
Let’s lay out the basics. A typical rough-in for a bathroom renovation order means making sure water lines, drains, electrical boxes, and vent ducts are set in exactly the right spots. Your plumber and electrician will do most of the heavy lifting here, but being involved keeps things on track.
Here’s what you’ll usually tackle at this stage:
- Plumbing rough-in: Pipes for your sink, shower, tub, and toilet are run, and drains are set. They test it for leaks before closing the walls. If you want to move a fixture, now’s the moment—after this step, changes cost real money.
- Electrical rough-in: All wiring for switches, outlets, lighting, and exhaust fans are pulled through the studs. Don’t forget GFCI outlets (those ones with the reset button)—they’re actually required by code in bathrooms to keep things safe around water.
- Ventilation: A solid bathroom fan is non-negotiable if you want to avoid mold, and it should vent all the way outside (never just into the attic).
People often underestimate the time rough-ins take. A 2024 survey by HomeAdvisor showed the average pro rough-in phase lasts 2-3 days for a small space, but problems like old pipe sizes or electrical surprises can add another week.
| Rough-In Task | Common Time Required | Key Thing to Double-Check |
|---|---|---|
| Plumbing | 1-2 days | Pipe placement for all fixtures |
| Electrical | 1 day | Outlet and switch locations |
| Ventilation | 2-4 hours | Vent path goes outside, not attic |
One quick tip: snap photos of everything before the walls close up. If you’re a DIY type (like me), those reference pics can save hours of headache if you ever need to troubleshoot a leak or wire later. Believe me, I’ve kicked myself before for skipping this step!
This is also the inspection checkpoint—your town’s inspector needs to give the green light before you move on. Don’t skip it. If you do, and something goes sideways, you’ll regret it.
Installing Surfaces and Fixtures
This is where things get interesting. After all the guts—plumbing and wiring—are done, you finally start to see progress. First up: walls and floors. Tile is the go-to for most bathrooms because it stands up to splashes and is easy to wipe down. Always start with the ceiling if it needs painting, then move to the walls, and finish with the floor. If you use large format tiles on the wall, you’ll get fewer grout lines, making cleaning way easier.
Next is flooring. Laying the floor after the wall tiling keeps it from getting damaged or dirty. If you’re installing underfloor heating, this is the moment. According to a 2023 report from the National Kitchen & Bath Association, “Waterproof underlayments are a must, especially around showers and tubs.” Besides, if you’re ripping up old tiles or vinyl, check the floor is level before you start laying anything new. A bumpy surface makes for a nightmare install and can crack tiles over time.
When it comes to cabinets and the vanity, always install these after tiling so you don’t box yourself in or mess up your cut lines. Secure them tightly to wall studs so they don’t wobble or shift after your kids inevitably hang off the drawers. Then you can add countertops—quartz and granite last longer than laminate and are way harder to stain.
All the major fixtures go in now: toilet, sink, bath, and shower. Most folks put off setting the toilet because it’s heavy, but don’t wait too long—you’ll need it for the rest of the job. Here’s a quick order that keeps things tidy:
- Install bathtub or shower base first so wall materials overlap for a watertight finish.
- Put in the vanity and sink before the toilet—easier access for hookups.
- Set the toilet last. Trust me, moving it out of the way is no fun.
Finally, put up mirrors, towel racks, shelves, and light fixtures. Don’t skip caulking around tubs, showers, and basins. One lazy bead of silicone can mean leaks—something you really don’t want to discover later.
"The order you install surfaces and fixtures can make or break your bathroom remodel. Saving the toilet for last and sealing every edge pays off for years to come." – Home Improvement Magazine, 2024
No matter how tempting it is to rush, take time with this step. This is what you'll see every morning, so it pays to get it right. And for the best look and easiest maintenance, those finishing touches matter about as much as anything in bathroom renovation order.
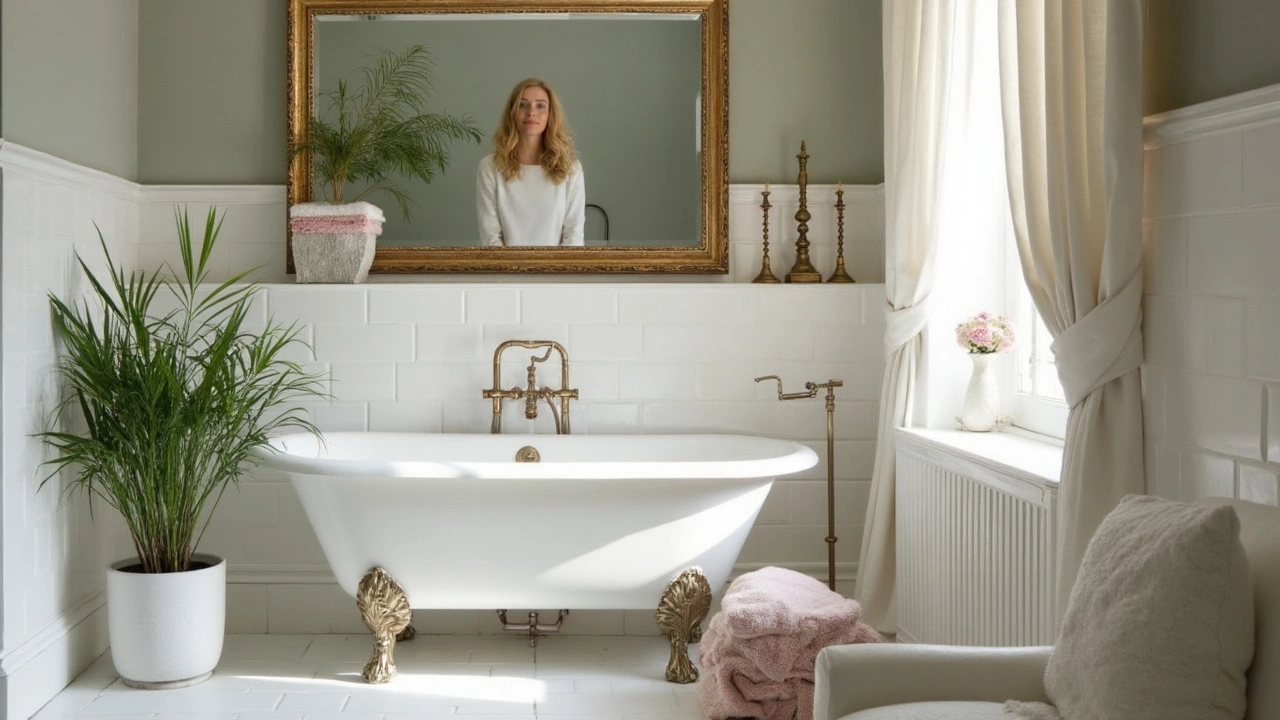
Finishing Touches and Clean-Up
This is where your hard work finally pays off. The last steps make your bathroom feel pulled together, not like a construction site. Do this right, and you’ll actually enjoy using your new space—no piles of dust, half-finished trim, or paint smudges everywhere.
Start with touch-ups. Check for any paint drips, missing grout, or scratches on the new fixtures. Now’s the time to fix these little things before you move your toothbrushes in. Next, install all the hardware: towel racks, toilet paper holders, robe hooks, and mirrors. Use a level, because crooked mirrors will drive you nuts every day and there’s no coming back from a towel bar that keeps falling off the wall.
Sealing is key for keeping water out of spots where it doesn’t belong. Go around the tub, shower, and anywhere tile meets another surface with quality silicone caulk. This helps prevent leaks and mold—plus, it makes everything look smooth and finished. If you’re not great at caulking, there are cheap tools that help keep the line straight and neat. Totally worth the five bucks.
Don’t forget the deep clean. Builders’ dust clings to everything, especially places you can’t see. Sweep, mop, then wipe down every surface—even inside drawers and under fixtures. Run the fan, open a window, and air it out for a couple of hours. Ventilation clears lingering smells from paint or grout.
| Task | Average Time Needed | Tools/Materials |
|---|---|---|
| Paint touch-ups | 45 mins | Brush, roller, leftover paint |
| Install hardware | 30 mins | Drill, screwdriver, level |
| Seal with caulk | 30 mins | Caulk, caulk gun, caulk smoother |
| Deep cleaning | 1-2 hrs | Vacuum, mop, rags, cleaner |
Here’s a checklist to make sure nothing gets missed:
- Touch up paint and grout
- Install all hooks, racks, and shelves
- Apply fresh caulk to all joints
- Deep clean from top to bottom
- Replace vent covers, outlet covers, and switch plates
The final fun part: add your personal stuff like a new shower curtain, bath mat, and maybe some plants. At this stage, take a step back and make sure everything lines up, works well, and feels like a space you actually want to hang out in. If you followed the right bathroom renovation order, there shouldn’t be any surprises. Just satisfaction and maybe a bit of relief.