How Big of a Foundation Crack Is Serious? Sizes, Types, and Fixes
 Sep, 13 2025
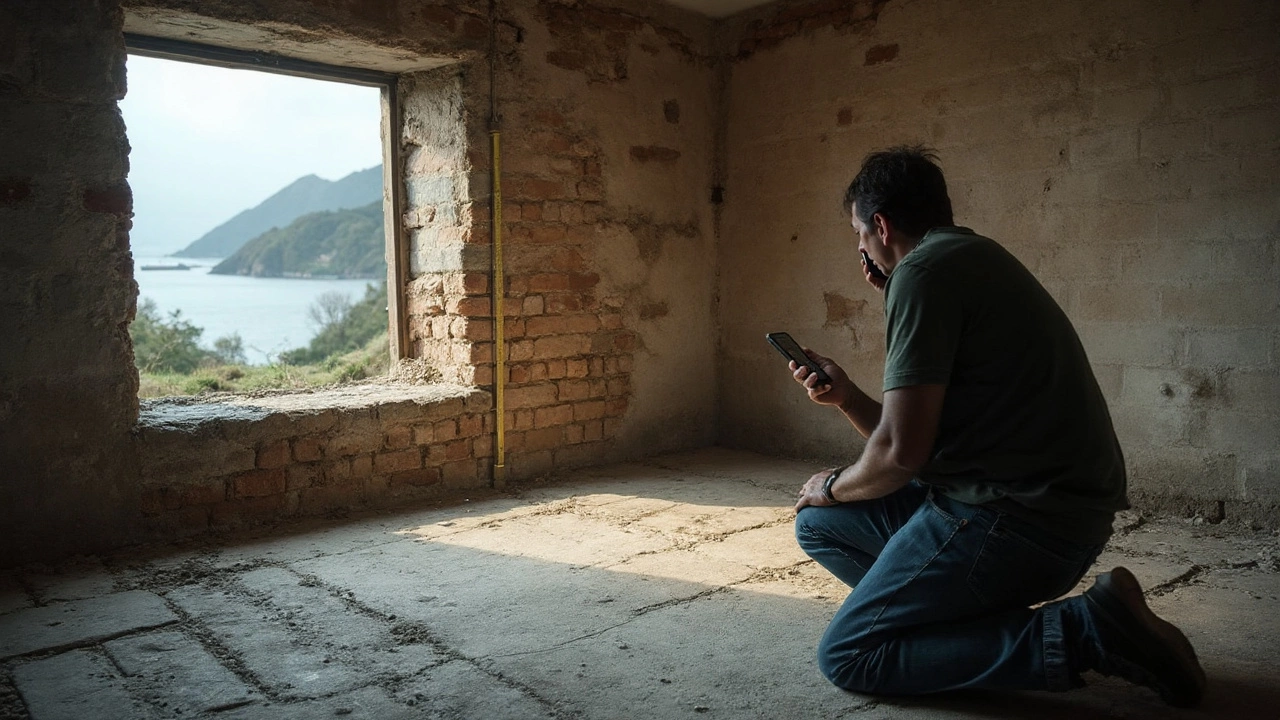
If a crack can swallow a credit card, it deserves your full attention. You clicked to get a clear answer on what size is serious, not vague reassurances. I’m Cedric, a Wellington builder who’s seen hairlines that never change and quiet cracks that turn into big repair bills after a wet winter or a quake swarm. I’ll give you simple size rules, what to check, and what to do next-no scare tactics, no fluff. The short version: small isn’t always safe, but growing or offset cracks are never casual.
- TL;DR: Under 0.3 mm (hairline) is usually cosmetic-monitor. 0.3-1 mm: take photos, recheck in a month. 1-3 mm: get a pro to assess soon. 3-6 mm or growing: serious. 6+ mm or any horizontal/stepped/offset: urgent.
- Measure smart: a credit card is 0.76 mm; if it fits, you’re at least near 1 mm. Re-measure on a schedule. Movement beats size-growth means risk.
- Types matter: vertical in the middle of a wall is often shrinkage; horizontal or stair-step (in block/brick) suggests lateral pressure or settlement-higher risk.
- Wellington angle: earthquakes, steep sites, and wet-to-dry swings can speed up small cracks. After shaking or a big storm, recheck even “stable” cracks.
- Call a structural engineer for: horizontal cracks, any displacement, new cracks after an event, water plus movement, or anything over ~3 mm with change.
How big is serious? Clear thresholds you can measure
When people ask me how big is serious, they’re really asking: do I need to act now or can I watch it? Size is the first filter, not the only one. Use these practical cutoffs you can check without special gear.
Quick references you already own:
- Credit card thickness ≈ 0.76 mm. If it slides into the crack, you’re not in hairline territory.
- 0.5 mm mechanical pencil lead: if it slips into the crack, you’re past “hairline.”
- Business card ≈ 0.25-0.35 mm. If it just catches, you’re around hairline to 0.3 mm.
Here’s a simple width-to-action guide I use on Wellington homes-concrete slab, perimeter foundations, and block walls alike. Width matters, but so do type and change over time.
| Crack width | Approx (inches) | Severity signal | What to do | Notes |
|---|---|---|---|---|
| < 0.3 mm | < 0.012 in | Usually cosmetic | Document; recheck in 3 months and after heavy rain or quakes | Common shrinkage in new concrete; watch, don’t ignore |
| 0.3-1.0 mm | 0.012-0.039 in | Minor but worth tracking | Monthly photos/measurements for 3-6 months | Look for tapering or branching-could hint at settlement |
| 1-3 mm | 0.039-0.118 in | Moderate; potential structural concern | Get a builder or engineer to assess in weeks, not months | If it grows or leaks, move faster |
| 3-6 mm | 0.118-0.236 in | Serious | Engineer evaluation; plan repair | Often linked to movement, pressure, or inadequate support |
| > 6 mm | > 0.236 in | Urgent | Engineer immediately; safety check | Displacement or bowing likely; don’t delay |
Those ranges line up with what structural guidance says about crack control and serviceability (for example, ACI 224R’s limits for reinforced concrete cracks and MBIE/NZ Building Code performance goals around durability and deflection). The Code doesn’t give you a single magic number, because context decides, but in lived reality on sites here, the table above works.
One more rule I trust more than any ruler: movement beats size. A static 2 mm vertical crack that hasn’t changed in two years worries me less than a fresh 0.7 mm crack that opened after a quake and widened to 1.2 mm in a rainy week.
Other size cues you can spot:
- Length: Long, continuous cracks that run across corners or along a wall’s midline usually mean more load or movement than short, isolated hairlines.
- Pattern: A web of many fine hairlines in a slab usually points to shrinkage; one or two bold cracks often means movement.
- Offset: If one side of the crack sits higher than the other, that’s differential settlement or heave-serious regardless of width.
NZ context you should keep in mind:
- Seismic cycles: Even “minor” cracks can change after moderate shaking. Recheck after felt events. Wellington hills don’t forgive sloppy drainage or loose fill under footings.
- Wet/dry swings: Weeks of rain followed by a dry snap can move clays and lower bearing capacity. I see more calls at the end of winter for a reason.
- Coastal exposure: Salt spray accelerates corrosion in reinforcement. A crack that lets water in can start rust that widens the crack from inside the steel out.
Bottom line for size: Treat anything over ~1 mm as worth a closer look, anything over ~3 mm as a near-term repair, and anything with offset or horizontal direction as an “act now.” If you remember nothing else, remember this phrase: your foundation crack size matters less than whether it’s moving.
Diagnose the crack: type, cause, and risk
Not all cracks are created equal. Size is step one; type and location tell you “why.” Here’s how I walk a house to read the crack’s story.
Start with where the crack is:
- Slab-on-grade (garage/ground floor): Cracks through the slab surface often come from shrinkage or subgrade issues. A slab crack that continues up walls is more serious than a slab-only hairline.
- Perimeter foundation wall (concrete): Horizontal or near-horizontal cracks here suggest lateral soil pressure or inadequate backfill/drainage. Vertical cracks near midspan often shrinkage or settlement.
- Block or brick: Stair-step cracks track through mortar and blocks-often settlement or lateral pressure. These rank higher risk than random map cracking.
- Piles and ring beams (common in older Wellington homes): Look for splitting, rotations at pile heads, and cracks in the ring beam near corners or under heavy posts.
Now look at direction and shape:
- Vertical: Most common. If centered and uniform, may be shrinkage. If wider at the top or bottom, think settlement (wider at top = sinking on one side, wider at bottom = heave).
- Diagonal: Often points to differential settlement-one corner drooping. Pay extra attention near window/door corners.
- Horizontal: Higher risk. Usually lateral pressure from soil, poor drainage, or seismic racking. If the wall is bowing, call an engineer now.
- Stair-step (in block/brick): Settlement or lateral push. Even small widths can be serious if there’s displacement.
Then check for movement and moisture:
- Offset: Run a finger across. If you feel a lip, that’s structural movement.
- Leaking or damp: Water in a crack reduces durability and signals drainage issues. Dampness plus growth is a double red flag.
- Tapering ends: A crack that narrows to nothing often started at the wide end-follow it to the cause (a loaded point, a corner, a downpipe discharge location).
Scan the house for supporting clues:
- Doors and windows: Sticking, latches misaligned, or new gaps above doors? The structure moved.
- Floors: Roll a marble or use a level. Humps and dips near cracks help you map settlement.
- Exterior: Downpipes, stormwater discharge, paving against the wall, garden beds piled high-water against the foundation is a classic villain.
- Trees: Big roots near the footing can lift or dry soils unevenly.
- Recent events: Felt shaking? New driveway or excavation next door? A soaker hose on all summer? Timing matters.
Quick decision guide as you diagnose:
- Horizontal or stair-step crack in a foundation wall: treat as serious regardless of width.
- Vertical crack wider than 3 mm, or any offset: serious; get engineering eyes.
- Any crack that grew by ≥0.5 mm over 3 months: moving; investigate cause and plan repair.
- Hairline slab crack, no growth in a year: likely cosmetic; you can seal to control moisture/dust.
Why I trust these checks: they match practical site experience and align with what BRANZ and NZS 3604 aim for-keep structural elements within serviceability (cracks small, deflections limited) and make sure durability isn’t compromised by water or corrosion paths. ACI 224R isn’t NZ law, but its crack width guidance for reinforced concrete lines up with what lasts in our climate.
A personal note from the field: after the 2016 Kaikōura quake, I revisited homes with “nothing” cracks a year later. Quite a few had widened 0.5-1 mm with winter rain, especially on south-facing walls. Small isn’t “safe forever.” It’s “safe for now if stable.” That’s the mindset.

What to do next: monitor, repair, or call a pro
Once you know the size and type, act with purpose. Here’s a simple, no-drama plan.
1) Monitor correctly if it’s minor
- Document today: Take clear, close photos with a ruler or card in frame. Step back and take a wide shot that shows location.
- Mark and date: A pencil tick at each end of the crack with today’s date. Not pretty, but useful.
- Measure width: Try the credit card test; if you own a cheap feeler gauge, even better. Note the largest point.
- Set a schedule: Recheck in 1 month, then 3 months, and after heavy rain or felt quakes.
- Log context: “Rained all week,” “big southerly,” “neighbor excavated.” You’re looking for patterns.
2) Fix the cause, not just the line you see
- Water management: Extend downpipes well away from the foundation. Clear gutters. Add surface fall away from the house (aim for 1:50 over the first couple of metres). Consider a drain upgrade if you see persistent damp.
- Soil and landscaping: Keep garden beds and mulch off the foundation face. Don’t stack pavers against walls. Avoid overwatering near foundations.
- Trees and roots: Get advice before removing large trees, but do manage aggressive roots near shallow footings.
3) Choose the right repair
- Cosmetic/hairline (stable): Seal for durability and moisture control. A low-viscosity concrete sealant or thin epoxy can reduce water ingress and dusting.
- Leaking crack but stable: Polyurethane injection (flexible, good for water) is common. Epoxy injection (stiffer, structural) bonds concrete but doesn’t flex as much.
- Structural movement: Underpinning (micropiles, helical piers) if bearing soils are weak or settlement is ongoing. Wall reinforcement (steel, carbon fiber straps, or a new internal skin) if lateral pressure is pushing in.
- Block/brick stair-step with bowing: Engineer-led solution-often anchors or reinforcement plus drainage fixes.
4) When to bring in a structural engineer (CPEng)
- Horizontal or stair-step cracks in load-bearing walls.
- Any crack > 3 mm, especially if fresh or changing.
- Offset (one side higher), bowing, or crushed concrete.
- Cracks after a quake or after nearby excavation.
- Water plus widening-durability risk jumps.
5) What it might cost in NZD (2025 ballparks I see in quotes around Wellington; complexity and access change everything)
- DIY monitoring (marker, photos, feeler gauge): $20-$60
- Seal hairline cracks (materials): $50-$200
- Professional crack injection (per metre): $400-$1,200 (polyurethane often cheaper than structural epoxy)
- Engineer site visit/report: $600-$2,000+
- Underpinning (per pier/micropile): $3,000-$8,000
- Wall reinforcement (carbon fiber/steel, small run): $2,500-$10,000+
- Drainage upgrades (site dependent): $2,000-$15,000+
These ranges reflect recent Wellington jobs and supplier pricing I’ve seen; materials and labour have risen since 2022, and access on tight hill sites can double time-on-tools.
Common pitfalls to avoid:
- Patching a moving crack: It will reopen. Find and fix the cause first.
- Ignoring water: Moisture turns small structural issues into big ones by corroding steel and softening soils.
- Filling with rigid epoxy where movement is expected: It’ll crack beside the repair. Choose flexible systems or add reinforcement.
- Assuming “new build” means “no cracks”: New concrete shrinks. The question is stability, not perfection.
Mini‑FAQ
- Is a hairline crack in my slab normal? Yes. Many slabs develop hairlines under 0.3 mm. Mark and watch-most never change.
- When should I worry about a vertical crack? Over ~3 mm, if it’s growing, or if there’s offset or water-get an engineer.
- Are horizontal cracks always bad? They’re high risk because they often mean lateral pressure. Treat as serious until proven otherwise.
- Can I sell with a cracked foundation? Yes, but disclose and document. A recent engineer report helps buyers and lenders here in NZ.
- What about earthquakes? Recheck all known cracks after felt shaking. Photograph, measure, and note the date of the event.
Next steps by scenario
- I’m a homeowner seeing a new 1-2 mm diagonal crack near a door: Photo, measure, and book a builder or engineer within a few weeks. Check gutters and site drainage today.
- I’ve got a 0.2-0.3 mm hairline in a garage slab: Record and recheck in 3 months. If it hasn’t changed, seal for dust/water and move on.
- There’s a 4 mm horizontal crack in a basement wall with damp: Call an engineer now. Set up temporary drainage away from the wall while you wait.
- After a week of heavy rain, my existing 1 mm crack is now 2 mm: That’s movement. Investigate drainage and book an assessment.
- We felt a decent quake and I see new fine cracks: Map, date, and monitor. If any widen or doors start sticking, get a professional look.
If you want one simple habit that saves money: measure and shoot photos on a schedule. I joke that my wife Natalie teases me for keeping a “crack diary,” but those photos have talked more sellers out of panic-and more buyers out of bad deals-than any speech I could give.
Credibility note: The thresholds and steps here track with ACI 224R (control of cracking in concrete), NZ Building Code clause B1/VM1’s performance focus, and BRANZ guidance on cracking and durability. But buildings are unique. When in doubt, an hour with a CPEng pays for itself.