How to Redo a Bathroom for $5,000: A Real‑World Guide
 Oct, 12 2025
Bathroom Renovation Budget Calculator
Track Your $5,000 Bathroom Remodel
Follow the article's proven budget breakdown to stay under $5,000.
Budget Summary
Total: $0
Enter your costs to see your budget status
A $5,000 bathroom makeover is doable if you follow a disciplined budget bathroom remodel plan. You’ll need to know where to spend, where to save, and how to keep surprises out of the budget. Below you’ll find a step‑by‑step roadmap, a realistic cost breakdown, and tips to avoid hidden expenses.
Key Takeaways
- Half of a $5,000 remodel can be covered by DIY labor.
- Focus on high‑impact finishes like Tile is the surface material for walls or floors that adds visual weight without breaking the bank in a splash zone.
- Choose a modest Vanity that offers storage and a pre‑finished countertop to skip extra labor.
- Plan for a simple Fixture upgrade; a new faucet and lighting can transform the space for under $300.
- Secure any required Permit early to avoid costly re‑work.
Is $5,000 Enough? Setting Real Expectations
In Wellington, the average bathroom remodel runs between $12,000 and $20,000 when you hire a full‑service contractor. Cutting that to $5,000 means you’ll need to do the heavy lifting yourself and choose cost‑effective products. The good news: a functional, attractive bathroom doesn’t have to look like a luxury suite to feel great.
Breaking Down the $5,000 Budget
Here’s a typical allocation that keeps you on track:
- Materials (tiles, vanity, fixtures, paint): $2,500
- Plumbing & Electrical supplies: $800
- Permit fees: $200
- Tools & Safety gear: $300
- Contingency (unexpected issues): $200
- Labor (DIY time value): $1,000
These numbers are based on 2025 market pricing in New Zealand and can shift slightly depending on sales or reclaimed materials.
Choosing Where to Spend and Where to Save
Every remodel has a “wow” factor. The trick is to focus on visible elements and keep the hidden work simple.
- Tile should be used just on the floor and a splash‑back zone. Large-format porcelain offers a high‑end look for about $25 per square metre.
- A ready‑to‑assemble Vanity with a laminate top runs $350-$450 and includes pre‑drilled holes for sink and tap.
- Swap the old faucet for a single‑handle ceramic model at $120. Pair it with a LED vanity light fixture at $80 for instant brightness.
- Paint the walls with a moisture‑resistant emulsion; a 4‑litre bucket costs $45 and gives you a fresh backdrop.
By keeping the layout unchanged (same location for the tub/shower and toilet), you avoid re‑routing Plumbing which can eat up $1,500 or more.
DIY vs Hiring a Contractor: A Cost Comparison
| Aspect | DIY | Contractor |
|---|---|---|
| Labor Cost | $0 (your time) | $2,000-$3,000 |
| Material Mark‑up | 0% (you buy directly) | 10‑15% surcharge |
| Project Management | Self‑coordinated | Included in fee |
| Risk of Mistakes | Higher if inexperienced | Lower, covered by warranty |
| Total Estimated Cost | ≈ $5,000 | ≈ $7,500-$8,500 |
If you’re comfortable with basic demolition, tiling, and installing a vanity, the DIY route saves you the biggest chunk of money. However, you’ll need to allocate time-roughly 2-3 weekends-to finish the job.
Step‑by‑Step $5,000 Bathroom Redo
- Plan & Measure: Sketch the layout, note existing fixture positions, and calculate square footage for tiles.
- Secure Permits: Visit Wellington City Council’s website, fill the online form, and pay the $200 fee. Permit approval usually takes 3-5 business days.
- Order Materials: Buy tiles, vanity, faucet, lighting, paint, and plumbing supplies. Use local warehouse sales or online discount codes.
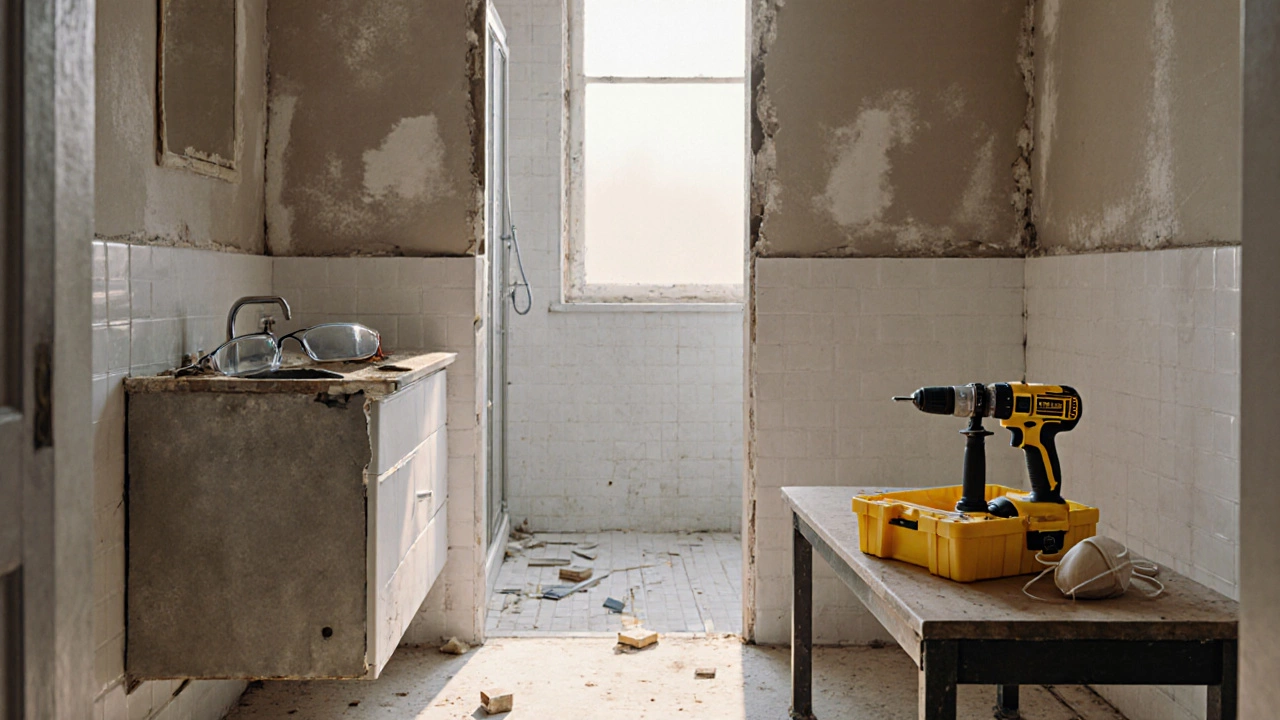
- Demolition: Turn off water, remove the old vanity, trim the existing tile, and patch any holes. Wear safety goggles and a dust mask (think of Safety gear as essential to avoid injuries).
- Prep Surfaces: Apply a cement backer board on walls where you’ll tile. Ensure it’s level; this prevents cracked tiles later.
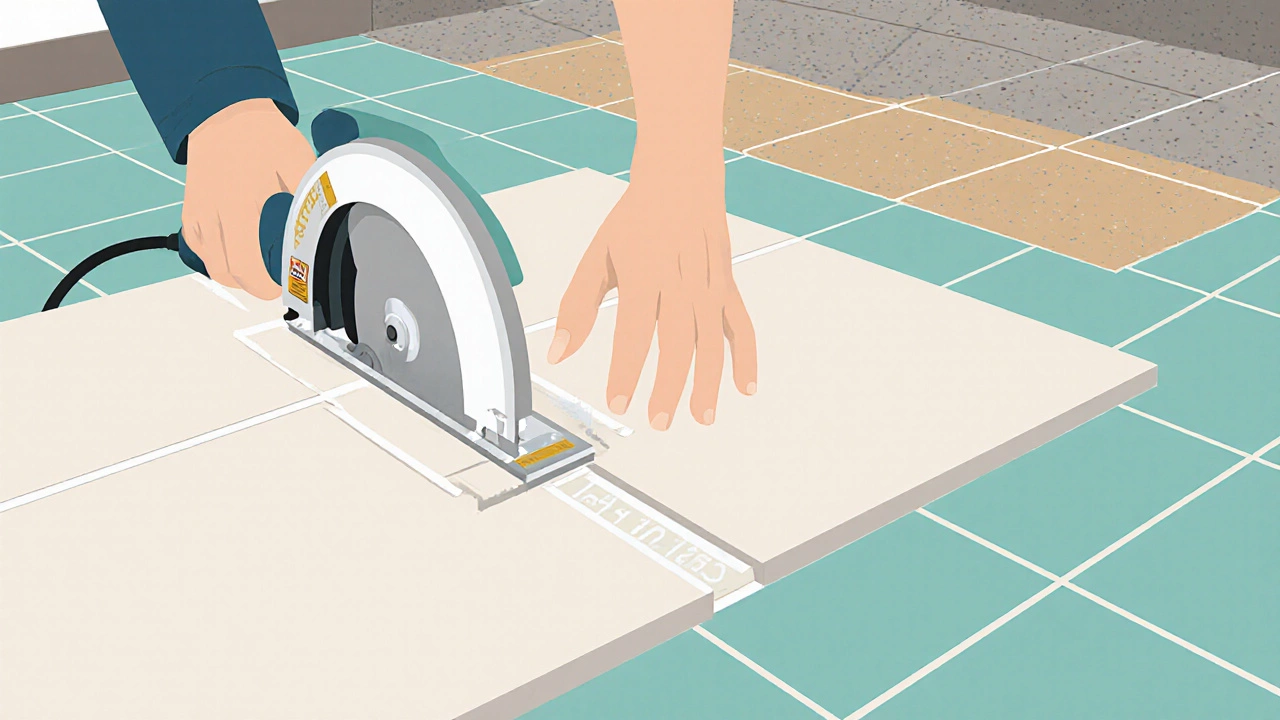
- Tile Installation: Lay floor tiles first, using a ¼‑inch spacer. Cut tiles with a wet saw for edges. Grout after the adhesive cures (usually 24hours).
- Install Vanity & Fixtures: Position the vanity, secure it to the wall studs, attach the sink, and connect the faucet using the supplied Plumbing fittings.
- Electrical Finish: Install the LED vanity light and any outlet upgrades. If you’re not licensed, hire an electrician for just this step (around $150).
- Paint & Touch‑Up: Apply two coats of moisture‑resistant paint. Clean grout lines and seal the tile to protect against moisture.
- Final Inspection: If a permit was required, schedule a council inspection. Fix any noted issues before using the bathroom.
Following these steps, most homeowners finish within 10-14 days, keeping the total under $5,000.

Hidden Costs to Watch For
- Water damage: Inspect underlying walls for rot before demolition. Repairing hidden moisture can add $300-$600.
- Old plumbing: If pipes are corroded, a simple repair may balloon to $800. Consider a visual inspection with a camera.
- Disposal fees: Some councils charge $150 for construction waste drop‑off.
- Tool rental: A tile cutter and power drill rental can cost $100-$150 if you don’t own them.
Allocate a $200 contingency (already in the budget) and you’ll have a buffer for these surprise expenses.
Tips to Stretch Every Dollar
- Shop clearance sections for tiles; many retailers discount floor tiles by 30% after the season.
- Buy a vanity with a ready‑made countertop-avoids the cost of having stone cut to size.
- Reuse existing hardware like towel bars or mirror brackets. A fresh coat of paint makes them look new.
- Swap a bathtub for a prefabricated shower kit ($800) if you’re okay with a smaller soak.
- Ask friends or family with DIY experience to help. More hands mean less time and lower labor cost.
Frequently Asked Questions
Can I really finish a bathroom remodel for $5,000?
Yes, if you keep the layout unchanged, do most of the labor yourself, and shop smart for materials. Expect tight budgeting and allocate a small contingency for hidden costs.
Do I need a building permit for a bathroom remodel in Wellington?
A permit is required if you modify plumbing, electrical, or structural elements. Simple cosmetic updates like new tiles or a vanity usually do not need a permit, but it’s safest to check the council’s guidelines.
What’s the cheapest tile option that still looks good?
Large‑format porcelain tiles on sale often cost $20‑$30 per square metre and mimic natural stone or wood. They’re durable and low‑maintenance.
How long will a $5,000 remodel take?
If you work on evenings and weekends, expect 10-14 days of active labor. The timeline can stretch if you wait for permit approval or deliveries.
Should I hire a professional for any part of the job?
Hire a licensed electrician for any new wiring or GFCI installation. For plumbing, a plumber can handle pipe repairs that are beyond simple connections. The rest-demo, tiling, vanity install-can be DIY.
With careful planning, smart buying, and a hands‑on approach, a $5,000 bathroom redo isn’t a pipe‑dream. Use the checklist above, stay on budget, and you’ll enjoy a fresh space without blowing your savings.