How to Sequence a Home Remodel for Success
 Oct, 15 2025
Remodel Sequence Calculator
Project Setup
Adjust days for each selected phase
Your Remodel Timeline
Getting the remodel order right can save you thousands and keep the project running smoothly. Remodel order is a planned sequence of tasks that guides a home renovation from tearing down walls to the final paint coat. When you follow a logical flow, you avoid re‑working finished spaces, reduce permits headaches, and keep contractors on schedule.
Key Takeaways
- Start with permits and a realistic budget before any demolition.
- Address structural and systems work (framing, electrical, plumbing) before closing walls.
- Install insulation and drywall early, then move on to finishes like flooring and paint.
- Plan each phase with buffer time for inspections and unexpected delays.
- Use a written schedule and a checklist to keep every trade on track.
Why the Sequence Matters
Imagine putting in new flooring before the plumbing is finished. The workers will inevitably damage the floor when they run pipes, meaning you’ll have to redo the work. A well‑ordered remodel prevents such costly back‑tracking. It also aligns with how building codes are structured: inspections must occur at specific milestones, and contractors are obligated to complete certain tasks before moving on.
Step1: Budget, Design, and Permits
The first thing you should do is sit down with a budget spreadsheet and decide what you can afford. Include a 10‑15% contingency for surprise issues like hidden water damage. Next, create a design brief-whether you draw it yourself or hire a designer, be clear about layout changes, material choices, and performance goals (e.g., energy‑efficient windows).
Building permit is the official approval from your local council that confirms your remodel complies with zoning, safety, and building‑code requirements. In Wellington, you’ll apply through the Wellington City Council’s online portal. Gather structural plans, electrical diagrams, and plumbing schematics before submitting. Allow 2‑4 weeks for approval; schedule this before any demolition so you won’t have to pause work later.
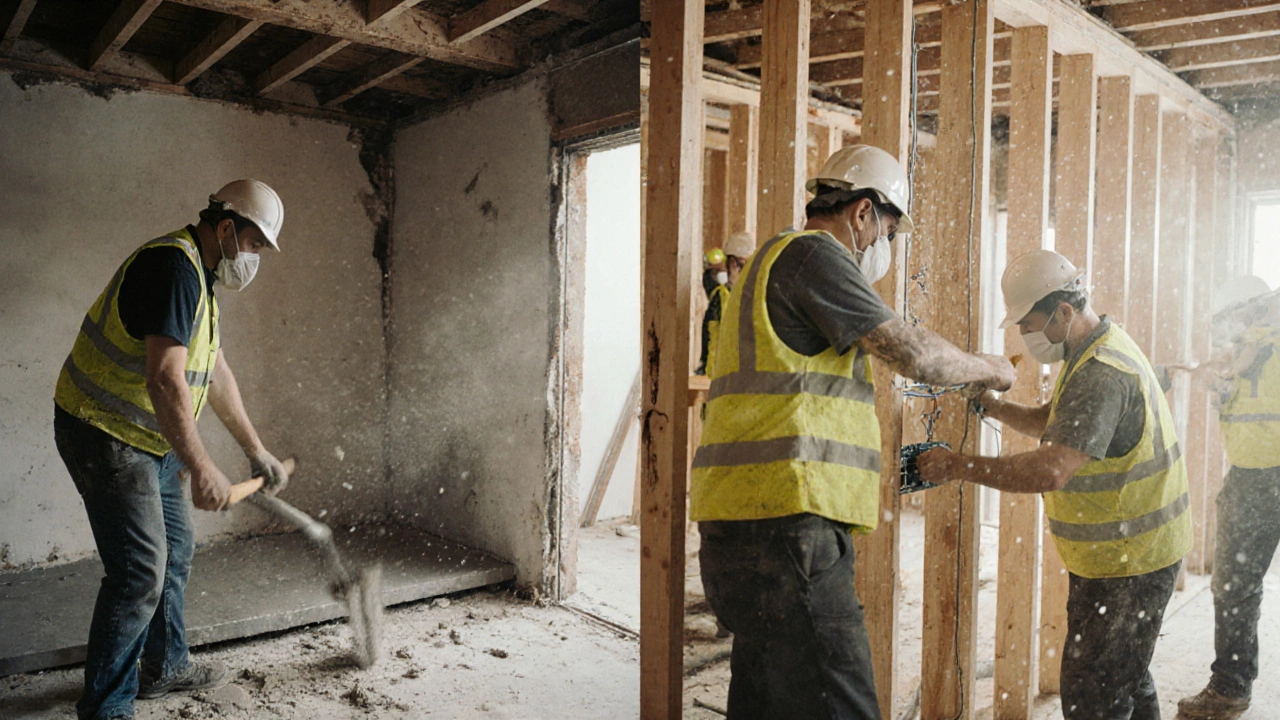
Step2: Demolition
Demolition is the process of safely removing existing finishes, walls, and fixtures that no longer fit the new design. Protect areas you plan to keep with tarps and seal off the work zone to contain dust. Hire a licensed crew that follows asbestos and lead‑paint regulations, especially in older New Zealand homes.
Step3: Structural Framing and Rough‑in Work
With the space cleared, the next focus is the building’s skeleton.
Structural framing is the installation of new studs, joists, and support beams that reshape rooms or add new openings. This stage often requires a structural engineer’s sign‑off, especially if you’re moving load‑bearing walls.
Simultaneously, start the rough‑in trades:
- Electrical rough‑in is the placement of wiring, breaker panels, and conduit before walls are closed. Ensure a qualified electrician runs a detailed circuit schedule.
- Plumbing rough‑in is the installation of supply lines, waste pipes, and vent stacks before drywall comes up. Coordinate bathroom and kitchen fixture locations early to avoid clashes.
Step4: Insulation and Moisture Management
Once the framing, electrical, and plumbing are inspected and approved, you can seal the building envelope.
Insulation is the material placed within wall cavities, floors, and roofs to improve thermal performance and reduce sound transmission. In New Zealand’s climate, consider cellulose or dense‑pack fiberglass for walls and rigid foam for external walls if you’re upgrading to a higher R‑value.
Install a vapour barrier where required and address any potential moisture issues with a breathable membrane before the walls go up.
Step5: Drywall, Taping, and First‑coat Paint
Drywall is the sheet material that creates interior walls and ceilings once the building envelope is sealed. Hang sheets, tape joints, and apply a skim coat. After the drywall dries, do a primer coat-this first layer locks in the substrate and helps later finishes adhere better.
Step6: Flooring Installation
Now the space is ready for flooring. Choose the material that matches your design and traffic levels: engineered hardwood, luxury vinyl plank, tile, or carpet. Lay the subfloor if needed (e.g., plywood over concrete) before installing the final surface.
Installing flooring after drywall prevents damage from heavy foot traffic during wall work. It also makes it easier to see any unevenness in the subfloor before it’s hidden.
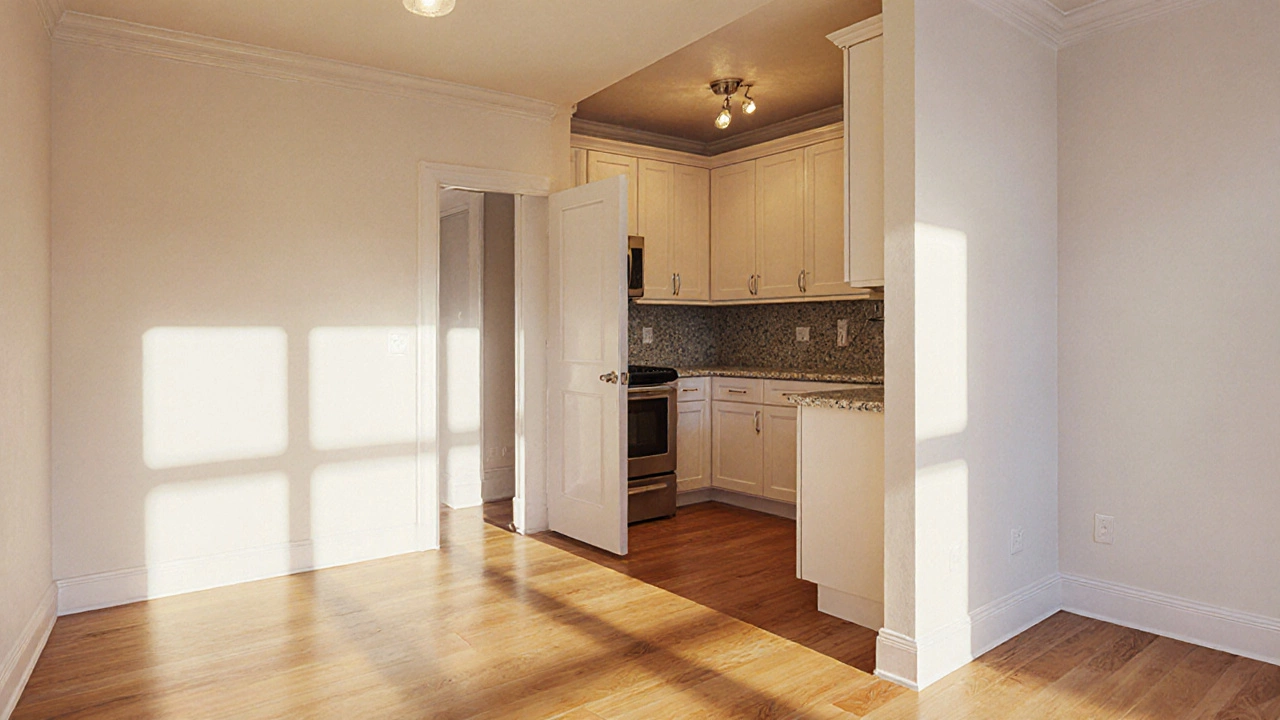
Step7: Cabinetry, Countertops, and Fixtures
With the floor set, bring in the kitchen and bathroom cabinets. Secure them to the walls, then add countertops, sinks, and faucets. This stage is where the room starts to look like a finished space.
Step8: Finishing Touches - Paint, Trim, and Final Fixtures
Finally, apply the chosen paint color to walls and ceilings. Install trim, baseboards, and mouldings to give the rooms a polished look. Hang doors, install hardware, and place light fixtures that were wired during the rough‑in.
Typical Remodel Timeline
| Phase | Typical Duration | Key Inspections |
|---|---|---|
| Budget & Permits | 10‑15 | Permit approval |
| Demolition | 5‑7 | None |
| Framing & Rough‑ins | 12‑20 | Structural, Electrical, Plumbing inspections |
| Insulation & Moisture Control | 3‑5 | None |
| Drywall & Primer | 7‑10 | None |
| Flooring | 4‑8 | None |
| Cabinets & Fixtures | 6‑9 | None |
| Paint, Trim, Final Touches | 5‑8 | Final occupancy inspection |
Common Pitfalls and How to Avoid Them
- Skipping the permit. Even minor interior work can trigger a council inspection. Apply early and keep copies of all approvals.
- Doing finishes before systems. Installing tile before plumbing can cause leaks that ruin the tile. Stick to the order above.
- Under‑budgeting for contingencies. Hidden rot, asbestos, or unexpected structural issues are common. Add at least 10% to your base estimate.
- Poor communication with trades. Provide each contractor with a current schedule and flag any changes immediately.
Tools for Managing Your Remodel Schedule
Digital tools make it easier to keep everyone on the same page. A simple Google Sheet with columns for "Phase," "Start Date," "End Date," "Responsible Trade," and "Inspection Due" works well. For more visual planning, try Trello or Asana, creating a board for each major phase.
When to Hire a Project Manager
If the remodel involves multiple trades, structural changes, or a tight deadline, consider hiring a professional project manager. They act as the single point of contact, coordinate inspections, and keep the remodel on budget. Look for certifications from the New Zealand Institute of Building (NZIOB) and ask for references.
Final Checklist Before Moving In
- Confirm all inspections are signed off by council officials.
- Walk through each room with the lead contractor; note any punch‑list items.
- Test all electrical outlets, switches, and light fixtures.
- Run water at every faucet and check for leaks.
- Verify HVAC system is balanced and filters are clean.
- Take photos of completed work for your records and warranty claims.
Next Steps for Your Remodel
Now that you know the ideal sequence, grab a notebook and sketch out a rough timeline based on the table above. Reach out to your local council for permit requirements, then get at least three quotes from licensed contractors. With a clear plan in place, you’ll move from “I want a new kitchen” to “My kitchen is ready” without costly surprises.
Frequently Asked Questions
Do I need a permit for a bathroom remodel?
Yes. In Wellington, any changes to plumbing, electrical, or structural elements require a building permit. Small cosmetic upgrades like new fixtures may be exempt, but it’s safest to check with the council.
Can I do demolition myself to save money?
You can remove non‑structural finishes, but demolition that involves load‑bearing walls, asbestos, or large concrete sections must be done by licensed professionals. Doing it yourself without the right safety gear can lead to injuries and insurance issues.
What’s the best time of year to start a remodel in New Zealand?
Late spring to early autumn (October‑April) is ideal. Dry weather reduces moisture problems and shortens drying times for plaster, paint, and flooring adhesives.
How long should I budget for a typical mid‑range home remodel?
For a 2‑bedroom renovation, most New Zealand homeowners spend between $40,000 and $70,000 NZD, including permits, fixtures, and contractor fees. Add a 10‑15% contingency for unexpected issues.
Should I install insulation before or after drywall?
Install insulation before drywall. This allows you to fill wall cavities fully and ensures a continuous thermal barrier. Once the drywall is up, it’s much harder to add missing insulation without tearing out finished walls.