Home Repair Tips: Quick Fixes for Foundations, Roofs, Plumbing & More
Keeping your house in good shape doesn’t have to feel like a full‑time job. Whether you’ve spotted a hairline crack in the slab, a drippy faucet, or a roof that’s letting the rain in, the right approach can save you time, money, and a lot of stress. Below you’ll find simple, step‑by‑step advice that works for most UK homes.
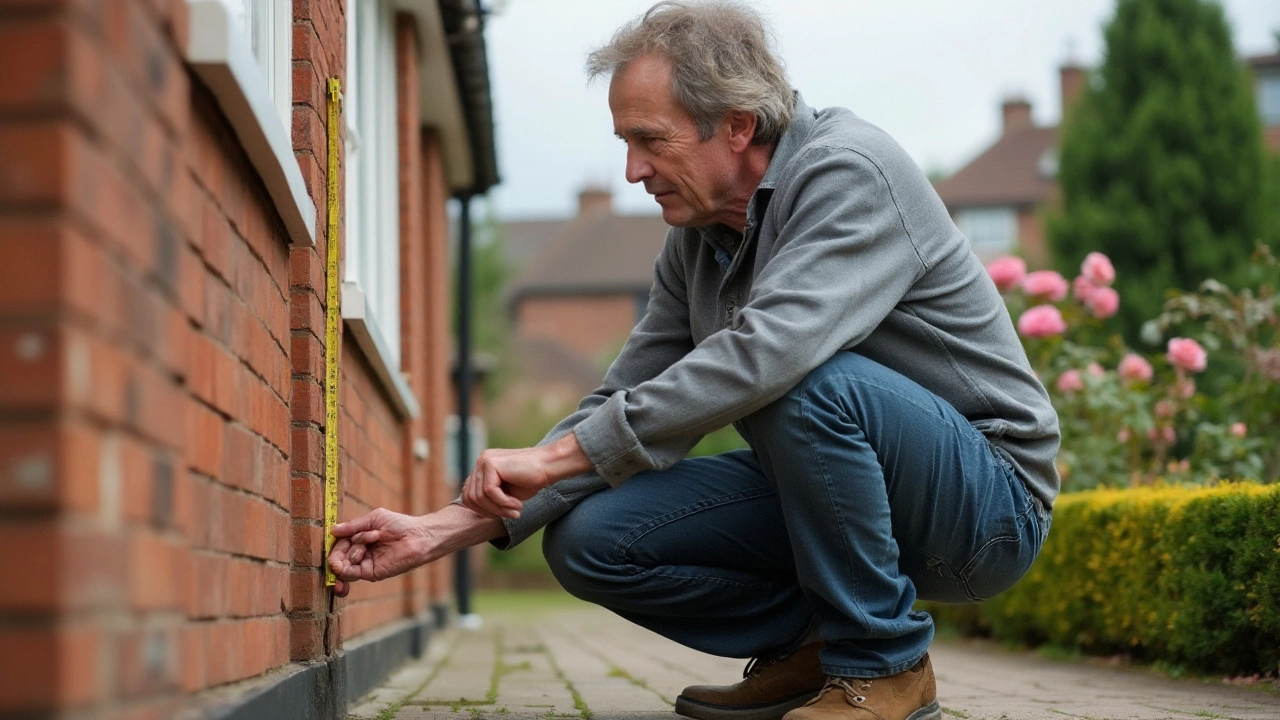
Spotting and Handling Foundation Cracks
First thing’s first – not every crack is a disaster. Horizontal cracks in a concrete slab often signal a bigger issue, while small hairline cracks are usually just normal shrinkage. Measure the crack width with a ruler: if it’s wider than 3mm, call a professional. Before they arrive, clear away debris and keep the area dry so they can assess the damage accurately.
When a pro recommends repair, they’ll likely suggest a cement mix designed for foundations. Pick a high‑strength blend with good bonding properties – the kind that can handle loads without re‑cracking. Applying the mix correctly (clean surface, proper moisture, and curing time) is crucial, otherwise you’ll be back to square one.
Roof Repairs Made Simple
Leaky roofs are a pain, especially when the weather turns. Start by inspecting the roof from the ground – look for missing shingles, cracked flashing, or debris buildup. If you feel comfortable, climb up and check for water stains on the interior ceiling. Small patches can be fixed with roofing tape or a cold‑applied sealant, but larger areas need a professional’s touch.
The cost of roof work can feel high because it includes labor, safety gear, and quality materials. Ask for a detailed quote that breaks down each line item. Knowing exactly where the money goes helps you compare offers and avoid surprise charges.
Plumbing problems tend to pop up at the worst times. A dripping tap may just need a new washer, but a steady leak from a pipe could point to corrosion or a loose joint. Shut off the water supply, dry the area, and use a pipe wrench to tighten fittings. If the leak persists, replace the affected section with a fresh piece of pipe and proper sealing tape.
For bathroom renovations, the order of work matters a lot. Begin with demolition – remove old fixtures, tiles, and any damaged plaster. Next, rough‑in the new plumbing and electrical lines before you lay down new flooring. Finally, install fixtures, cabinets, and finish with paint or wall tiles. Skipping steps often leads to re‑work and higher costs.
When you’re budgeting, keep an eye on the hidden costs. For example, foundation repairs often require soil testing, and roof replacements may need structural reinforcement. Adding a modest contingency (about 10‑15% of the total) can cushion those unexpected expenses.
In short, a bit of DIY knowledge paired with the right professional help keeps your home safe and comfortable. Regular inspections, quick action on small issues, and clear communication with contractors will make any repair less daunting. Ready to tackle that crack or leak? Grab your toolbox and start with these basics – you’ll thank yourself later.