NZ Building Tolerances – Simple Guide for Builders & Homeowners
Ever walked into a new home and noticed a wall that’s a few centimetres off‑line or a floor that isn’t perfectly level? Those little slips are called building tolerances, and they’re the built‑in leeway the industry allows for small variations. In New Zealand we follow standards like NZS 3604 and AS/NZS 1170, which spell out exactly how much wiggle‑room is acceptable. Knowing these limits can save you time, money, and a lot of headaches when something doesn’t measure up.
Key Tolerance Limits in New Zealand
For most residential projects the main tolerances are pretty straightforward. Walls can deviate up to 10 mm over a 3‑meter run, floors can be off by 5 mm across 4 m, and ceiling heights have a 10‑mm leeway. Door frames get a tighter call‑out – usually 2‑3 mm for plumb and level – because a mis‑aligned door screams poor workmanship. Service penetrations (pipes, ducts, and wiring) also have set gaps; a pipe should sit within ±5 mm of the planned line to avoid stressful bends later.
How to Check and Fix Tolerance Issues
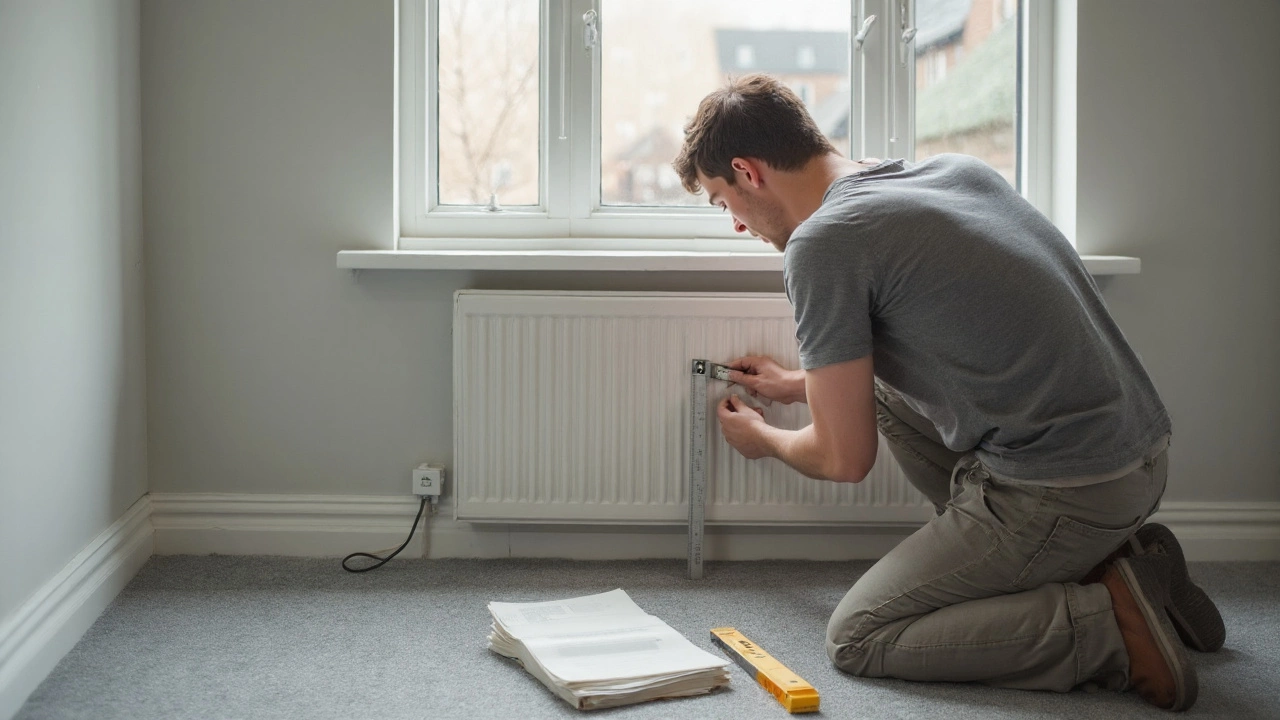
Start with a good tape measure and a level. Measure wall alignment at floor, mid‑height and top, then compare to the design drawings. If you find a deviation beyond the allowed limit, talk to the builder right away – it’s easier to correct before plaster or finishes go on. For floors, a long spirit level or laser level will spot high spots; sand down or add a screed layer to bring it back into range. When plumbing is involved, a short pipe segment that’s out of tolerance can lead to extra joints, which means more chances for leaks. In those cases, a plumber may need to re‑route the pipe or use flexible fittings to stay within the acceptable gap.
Don’t forget the building consent process. Inspectors use the same tolerance standards, so a clean inspection means you’re on track. If an inspector flags a problem, they’ll usually give you a chance to fix it before issuing a notice of non‑compliance. That’s why early detection matters – it’s cheaper to adjust a wall than to rip it out after the plaster is up.
For DIY homeowners, the rule of thumb is: if you can see a noticeable gap or tilt, it probably exceeds the tolerance. A quick visual check with a ruler or a level can tell you a lot. If you’re unsure, hire a qualified carpenter or plumber for a second opinion. Their tools are calibrated, and they know the local standards inside‑out.
Another practical tip: keep a tolerance checklist on site. Write down the allowed offsets for walls, floors, ceilings, and services, and tick them off as each stage finishes. This habit turns a vague idea of “good enough” into a concrete, measurable goal.
Remember, building tolerances aren’t an excuse for sloppy work – they’re a safety net for the inevitable small shifts that happen when material expands, contractors work in tight spaces, or weather changes. By respecting the limits set out in NZ standards, you ensure a sturdier, longer‑lasting building and avoid costly re‑works later on.
Bottom line: know the numbers, measure early, and act fast if something’s out of line. Whether you’re a tradesperson, a project manager, or a homeowner, understanding NZ building tolerances puts you in control of quality and keeps your project on budget.