Understanding the 1‑3 Rule in Commercial Construction
 Oct, 24 2025
1-3 Rule Calculator
Calculate Support Spacing
The 1-3 Rule states: For every 3 meters of span, you need at least 1 meter of vertical support (column or wall).
Result
Minimum Support Spacing: meters
According to the 1-3 Rule, a span of meters requires support spacing of at least meters.
Note: This calculation assumes standard construction loads. Always verify with your structural engineer for specific projects.
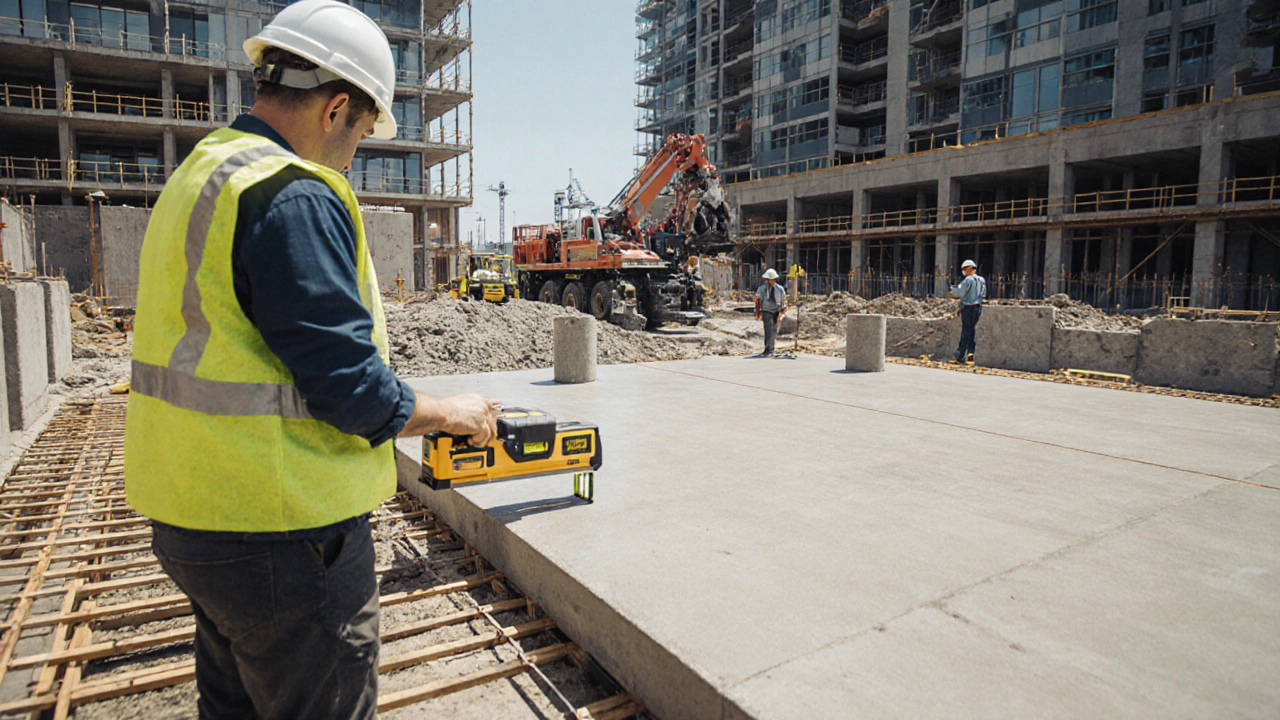
When you hear the 1‑3 Rule is a design guideline used in commercial construction to ensure adequate spacing and load distribution for structural elements, you might wonder how it impacts your next office tower. The short answer: it tells you how many meters of support you need for each meter of opening, keeping walls, slabs and columns from sagging under a building’s own weight. 1‑3 rule construction is simple on paper but can save thousands of dollars when applied correctly.
Key Takeaways
- The 1‑3 Rule means one unit of support for every three units of span.
- It originates from the National Building Code of New Zealand (NZBC) which sets the baseline for commercial projects.
- Applying the rule involves checking load‑bearing walls, slab thickness, and column spacing early in design.
- Common mistakes include ignoring temporary loads and relying on shortcuts during concrete curing.
- A step‑by‑step checklist helps keep the rule front‑and‑center throughout the project lifecycle.
What Exactly Is the 1‑3 Rule?
The 1‑3 Rule states that for every three metres (or feet) of horizontal span, you need at least one metre of vertical support - typically a column, wall or load‑bearing element. It was codified to prevent excessive deflection in large commercial floors, especially when using lightweight concrete or steel decking. The rule works as a quick sanity check for architects and Structural Engineer a professional who calculates loads and ensures the building’s structural integrity during the schematic design phase.
Why the 1‑3 Rule Matters in Commercial Projects
Commercial buildings often feature open floor plans, long spans, and high live loads (people, equipment, furniture). Ignoring proper support can lead to:
- Excessive floor vibration, causing discomfort for occupants.
- Cracking of concrete slabs during Concrete Curing the process of allowing concrete to achieve its intended strength, which weakens the structure.
- Increased long‑term maintenance costs due to premature wear.
By adhering to the 1‑3 Rule, you align the design with the NZBC the overarching set of regulations governing building safety in New Zealand and meet client expectations for durability.
How to Apply the 1‑3 Rule - A Practical Checklist
Follow these steps during the design and construction phases:
- Step 1 - Identify primary spans: Use the construction drawings to locate the longest uninterrupted distances between supports.
- Step 2 - Calculate required support: Divide each span length by three. Round up to the nearest whole metre to determine minimum column spacing.
- Step 3 - Verify against live loads: Add the anticipated live load (people, equipment) to the dead load (structural weight) and confirm that the resulting stress does not exceed the material’s allowable limit.
- Step 4 - Coordinate with the contractor: Share the support grid with the Contractor the party responsible for executing the construction plan to ensure formwork and shoring align with the design.
- Step 5 - Schedule concrete pours: Plan concrete placement to allow sufficient curing time before removing temporary supports, preventing premature deflection.
- Step 6 - Conduct on‑site verification: Use a laser level or deflection gauge to confirm that the actual spacing matches the design calculations.
Embedding this checklist into the project’s Construction Schedule the timeline that outlines all major construction activities keeps the rule from slipping through the cracks.
Common Pitfalls and How to Avoid Them
Even seasoned teams stumble over a few recurring issues:
- Assuming the rule is optional: Treat it as a minimum requirement, not a suggestion.
- Neglecting temporary loads: Equipment, formwork, and construction crews add weight that can exceed the safe limit if not accounted for.
- Relying on visual checks alone: Always back up observations with calculations or digital modelling.
- Over‑compressing concrete curing time: Rushed curing reduces strength, making the slab more prone to deflection.
When any of these red flags appear, pause the work, re‑run the calculations, and adjust the support layout before proceeding.

Real‑World Example: Wellington Office Block
A 12‑storey office building in Wellington used a 1‑3 Rule analysis during the early design stage. The architects wanted a 9‑metre span for a conference hall on the third floor. Applying the rule, they determined a minimum column spacing of 3 metres. The initial plan called for columns every 4 metres, which would have violated the rule. By inserting an additional column line, the contractor saved $250,000 in post‑construction slab repairs caused by excessive deflection during the building’s first year of occupancy.
Related Codes and Standards
The 1‑3 Rule does not exist in isolation. It works alongside other standards such as:
| Standard | Focus | Reference Section |
|---|---|---|
| NZBC Part 1 | Structure | Clause 6.2 - Load‑bearing elements |
| AS/NZS 1170.0 | General design loads | Section 3 - Live load factors |
| BS 5950 | Steel design | Appendix C - Span‑to‑depth ratios |
Cross‑checking the 1‑3 Rule against these documents ensures full compliance and reduces the risk of costly revisions.
Quick Reference Checklist (Print‑Friendly)
- Identify longest spans on construction drawings.
- Divide each span by three - round up to nearest metre.
- Confirm support spacing meets live‑load requirements.
- Communicate spacing to contractor and formwork team.
- Schedule concrete pour and curing periods accordingly.
- Use on‑site measurement tools to verify deflection limits.
- Document compliance in the project log for future audits.
What is the origin of the 1‑3 Rule?
The rule emerged from early 20th‑century steel‑frame construction practices and was later codified in the NZBC to provide a simple check for adequate vertical support in commercial buildings.
Does the 1‑3 Rule apply to residential projects?
It’s designed for larger commercial spans where live loads are higher, but small‑scale residential builds can still benefit from the principle for long open‑plan areas.
How does concrete strength affect the rule?
Higher‑strength concrete can tolerate slightly longer spans, but the 1‑3 baseline remains a safe minimum. Adjustments should be validated by a structural engineer.
Can temporary supports be removed before the 1‑3 spacing is verified?
No. Remove shoring only after concrete has reached the required cure strength and on‑site measurements confirm compliance with the rule.
Is the 1‑3 Rule mandatory or advisory?
In New Zealand it is part of the NZBC’s mandatory structural requirements for commercial buildings, so it must be met for a compliant approval.