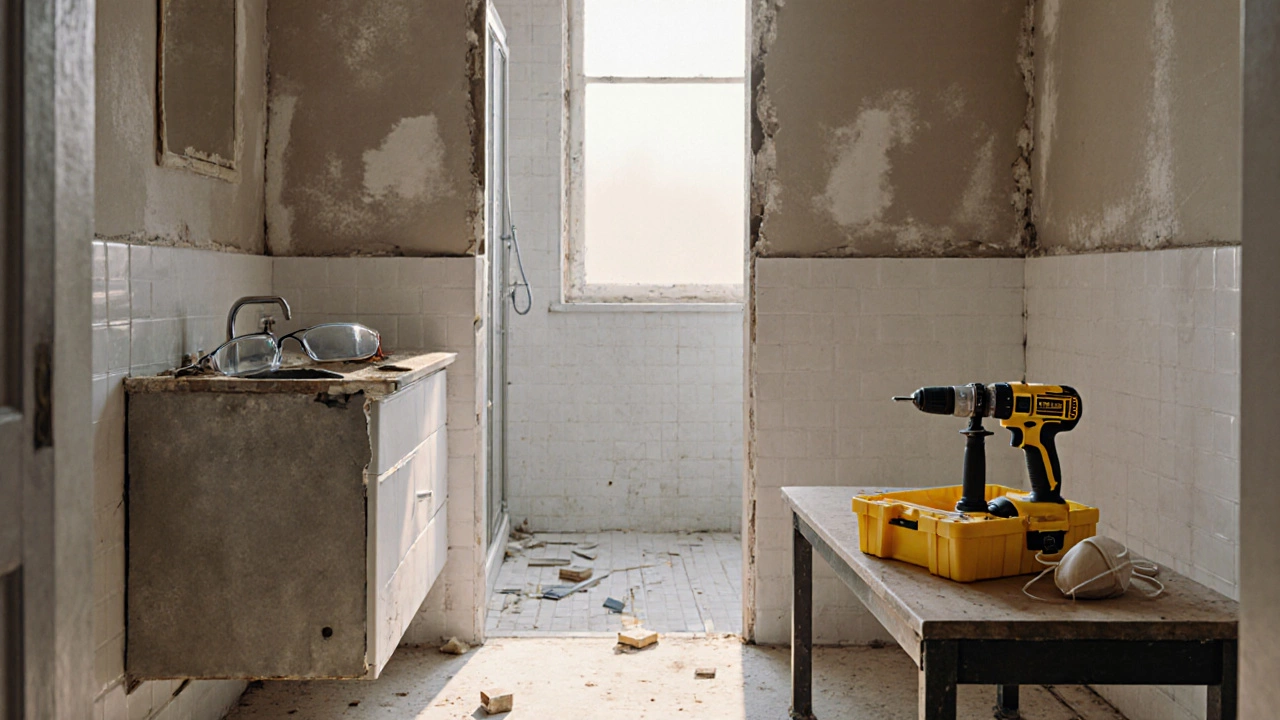
DIY Bathroom Makeover – Your Step‑by‑Step Roadmap
When working with DIY bathroom makeover, a hands‑on project that upgrades your bathroom without hiring a professional. Also known as home bathroom renovation, it gives you control over style, cost, and timing.
Every successful makeover starts with the right Bathroom tiles, the surface that defines the look and durability of the space. Choose porcelain for low‑maintenance, ceramic for budget‑friendly patterns, or natural stone for a luxury feel. Next up are Plumbing fixtures, the hardware that regulates water flow and adds visual character. Modern faucets, dual‑flush toilets, and sleek showerheads not only improve aesthetics but also boost water efficiency. Finally, don’t skip Waterproofing, the essential barrier that prevents moisture damage behind walls and floors. A good membrane, proper sealing around the tub, and a well‑ventilated shower area protect your renovation from future leaks. A well‑planned DIY bathroom makeover can save you hundreds of pounds and deliver a space you’ll love for years.
Key Parts of a DIY Bathroom Makeover
Beyond tiles, fixtures, and waterproofing, think about cabinet refacing, lighting, and ventilation. Cabinet refacing lets you keep existing storage while swapping out doors and hardware for a fresh look, a cost‑effective alternative to full replacement. Lighting isn’t just decorative; layered illumination—ambient ceiling lights, task‑focused vanity lights, and accent LEDs—creates a functional, inviting atmosphere. Good ventilation, usually a powered exhaust fan, removes excess humidity, extending the life of both tile and paint. Each of these elements influences the others: the type of tile you pick may dictate the grout color, which in turn affects how lighting highlights the space. Likewise, the size of your shower enclosure determines how much waterproofing membrane you’ll need, and the choice of plumbing fixtures can affect water pressure, influencing the performance of your new fan. By seeing the makeover as a network of interrelated parts, you avoid costly mistakes and achieve a cohesive finish.
Now that you have a clear picture of the main components—tiles, fixtures, waterproofing, cabinets, lighting, and ventilation—you’re ready to dive into the detailed guides below. Each article breaks down a specific step, shares practical tips, and points out common pitfalls. Browse the collection, pick the topics that match your project stage, and start turning your bathroom into the room you’ve always wanted.

