DIY Kitchen: Easy Ways to Upgrade Your Space
If you’ve stared at your old kitchen and thought, “I can do better,” you’re not alone. A lot of homeowners turn to DIY because it saves money and lets you put your own style on the room. The key is to keep the project realistic, stay organized, and focus on upgrades that give the biggest impact for the least effort.
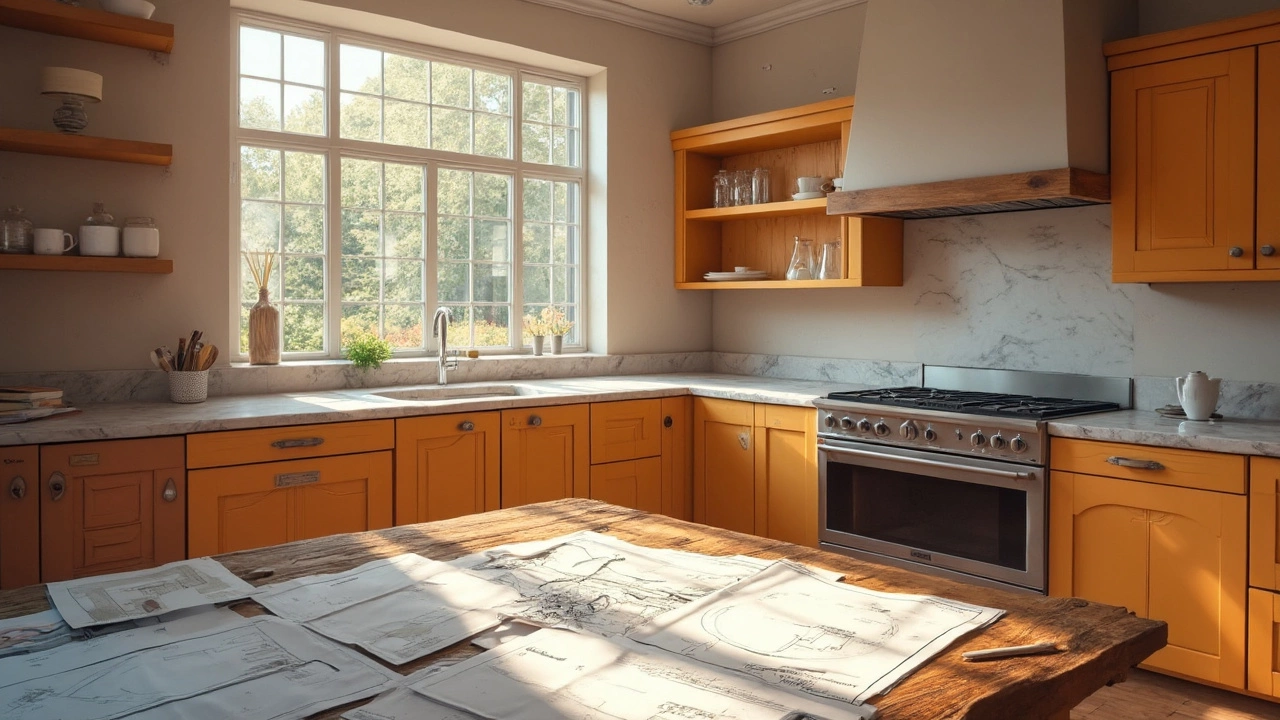
Planning Your DIY Kitchen Project
Start with a quick audit. Walk around and write down what annoys you most – a cramped layout, dated cabinets, or a lack of storage. Rank those problems from most to least urgent. This list becomes your roadmap and helps you avoid adding unnecessary tasks later.
Next, set a clear budget. Decide how much you’re willing to spend on materials, tools, and any help you might need for the tricky parts. A good rule of thumb is to allocate about 30 % of the budget for unexpected costs; you’ll thank yourself when a surprise pop‑up occurs.
Draw a rough floor plan on graph paper or use a free online tool. Sketch the placement of appliances, counters, and the work triangle (sink‑stove‑fridge). Making sure the triangle stays within the ideal 12‑to‑26‑foot range will keep the space functional.
Handy Tricks to Save Money and Time
Paint is a DIY hero. Instead of replacing cabinets, clean them, sand lightly, and apply a modern colour. A fresh coat can make old wood look brand new. Pair this with new hardware – a set of sleek handles can change the look of a whole row of drawers for under £20.
If your countertop looks tired, consider a laminate overlay. It’s cheaper than stone and can be cut to size at most home‑improvement stores. The installation is simple: clean the old surface, apply the adhesive, and roll out the new top.
Open shelving is another budget‑friendly upgrade. Remove a few upper cabinet doors, add sturdy brackets, and you get storage that feels modern and lets you show off pretty dishes. It also reduces the need for extra cabinets, saving on material costs.
Don’t overlook lighting. Under‑cabinet LED strips add both style and practicality. They’re plug‑and‑play, require no wiring changes, and cost less than £30 for a full run. A couple of pendant lights over the island can also change the room’s vibe without a major remodel.
When it comes to appliances, look for energy‑efficient models during sales. Even if you’re not replacing everything, swapping an old fridge for a newer, greener one can lower your electricity bill and make the kitchen feel more contemporary.
Finally, protect your floors. Peel‑and‑stick vinyl tiles are easy to install, low‑maintenance, and come in a range of patterns. They’re a cheap way to cover up old linoleum while giving the room a fresh finish.
Remember safety throughout. Turn off electricity at the breaker before touching any outlet, and shut off water lines when plumbing work is involved. If a task feels beyond your skill level – like moving a gas line – hire a qualified pro for that step and keep the rest DIY.
By breaking the remodel into small, manageable stages, you’ll keep the chaos low and see progress each day. Start with the most visible changes (paint, hardware, lighting), then move to larger updates (countertops, shelving). When you finish, you’ll have a kitchen that feels brand new, all while keeping the costs in check and the satisfaction high.