Dry Fit Kitchen: What It Is and Why It Works
If you’re planning a kitchen remodel, you’ve probably heard the term “dry fit kitchen.” It simply means the cabinets, countertops, and appliances are installed without any plaster, tiles, or wet work touching them. The result is a cleaner finish, less mess, and a faster build‑out. Most homeowners choose dry fit because it reduces the risk of water damage and makes future upgrades easier.
Dry fit kitchens are especially handy in apartments or older homes where wall space is limited. Since everything stays off the walls, you can remove or replace units without tearing down plaster. That flexibility can save you both time and money in the long run.
How a Dry Fit Kitchen Works
First, the plumber runs all the water and waste lines, then the electrician installs power points and lighting. Once the rough‑in work is done, the kitchen fits into the space like a puzzle. Cabinets are measured, cut to size, and bolted to the floor or wall studs. Countertops are placed on top, and the sink, hob, and appliances are slipped into their slots.
The key is precision. Every piece has to be level and squared before you lock it in. Using a laser level or a simple spirit level helps you catch mistakes early. When the cabinets sit correctly, the grout lines and sealant become the only places you need to apply wet work, and even that is minimal.
Tips for a Smooth Dry Fit Installation
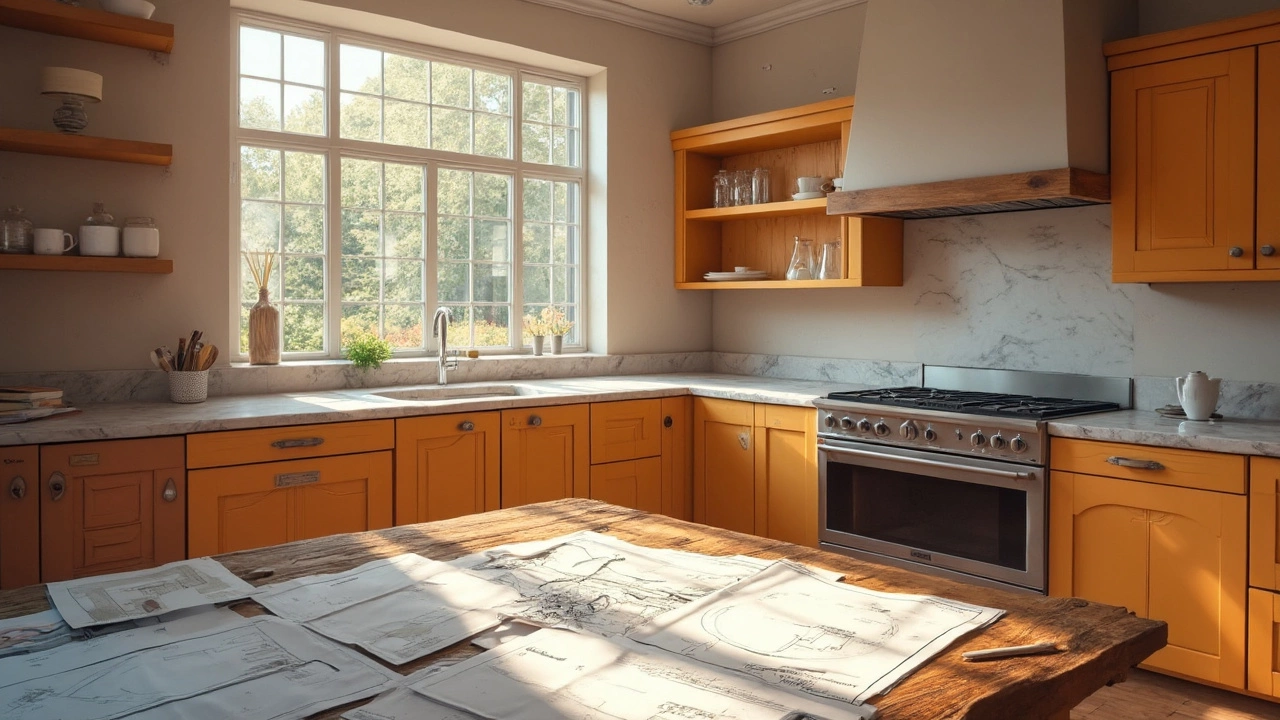
Plan your layout early. Sketch the kitchen on graph paper or use a free online planner. Knowing where the fridge, stove, and sink will sit helps you avoid last‑minute changes.
Check measurements twice. Measure the wall length, floor height, and doorway width at least two times. A 1‑mm error can throw off the whole fit.
Use quality hardware. Heavy‑duty brackets and screws keep cabinets from wobbling. It’s cheap to buy good hardware now and avoid fixing loose cabinets later.
Leave room for expansion. Wood moves with humidity, so give cabinets a small gap (about 2‑3 mm) on each side. This prevents warping and keeps the finish looking neat.
Seal all gaps. After the cabinets are in place, apply silicone sealant around sinks and backsplashes. This stops water from seeping behind the walls.
If you’re not comfortable with the rough‑in work, hire a licensed plumber and electrician. Their work is the backbone of a dry fit kitchen, and a mistake here can cost a lot to fix later.
Finally, don’t rush the final touches. Install the hardware—handles, pulls, and hinges—after you’ve confirmed everything is level. This ensures a professional look without having to redo anything.
Dry fit kitchens give you a sleek finish with less mess and hassle. By following these simple steps, you can enjoy a modern kitchen that’s ready to use without the headache of wet work all over your walls.