Kitchen Installation Made Easy: What You Need to Know
Thinking about a new kitchen? Most homeowners underestimate how much plumbing and construction overlap in this project. A surprised few end up with leaks or uneven cabinets because they skipped a simple checklist. Below you’ll find the exact steps to keep your kitchen install smooth, from the first measurements to the final faucet test.
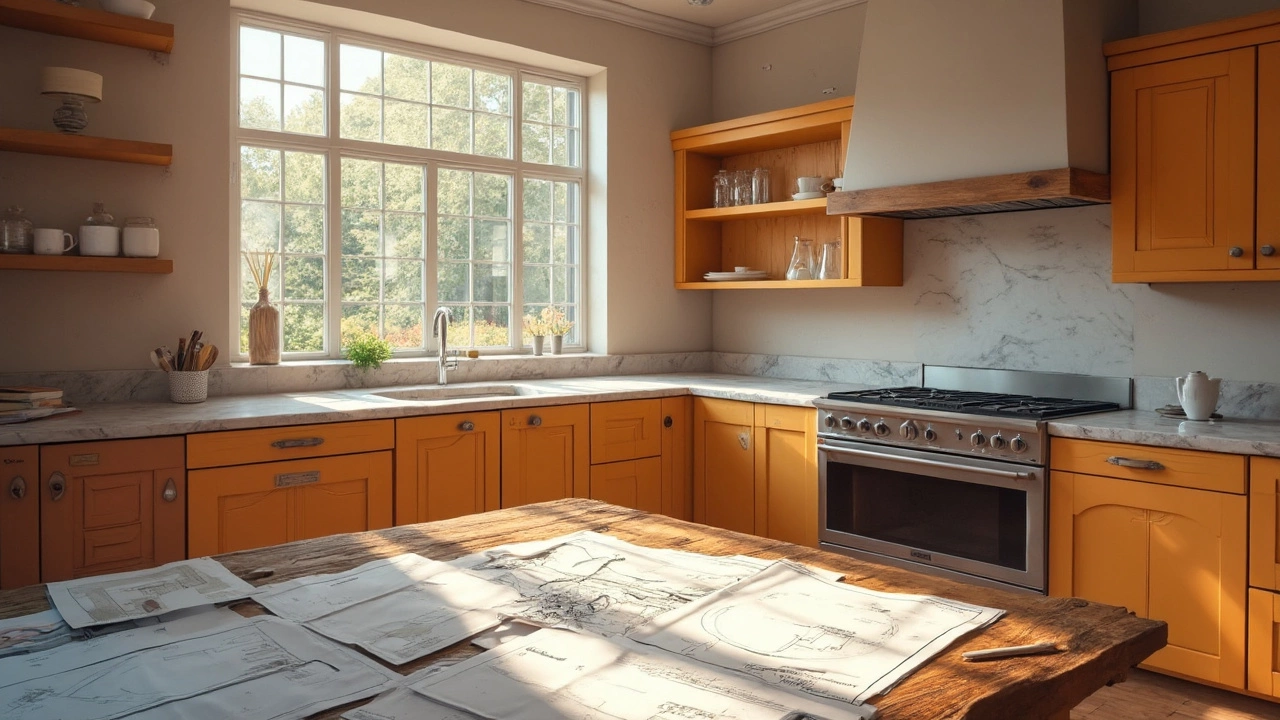
Step 1 – Plan the Layout and Check the Pipes
Before you pick cabinets, draw a rough floor plan. Mark where the sink, fridge, and dishwasher will sit. Next, locate the existing water lines. In many UK homes the supply runs behind the wall, so you may need a plumber to reroute a pipe if the new sink shifts more than a foot. Ask yourself:
- Is the current drain pipe long enough for a deeper basin?
- Do I need a new shut‑off valve for the dishwasher?
- Will the vent pipe stay clear when I install a new countertop?
Getting these answers early saves you from opening walls later.
Step 2 – Prepare the Rough‑In and Install Utilities
Once the layout is set, it’s time for the rough‑in. This is where a qualified plumber runs new supply lines, installs a waste pipe, and adds any extra connections for a refrigerator ice maker. The work should happen before any cabinetry goes up. A quick tip: use flexible PEX tubing for minor shifts – it’s cheap, easy to bend, and meets UK standards.
Next, schedule any electrical work. Kitchen appliances draw a lot of power, so you might need a dedicated circuit for the oven or hob. Combining plumbing and electrical tasks on the same day reduces disruption.
When the rough‑in is finished, ask the plumber to pressure‑test every line. A simple leak check now prevents a costly emergency later.
With the utilities in place, you can start the fit‑out phase: install cabinets, countertops, and finally the sink and fixtures. Follow the manufacturer’s instructions for mounting the sink brackets, then attach the faucet and connect the water lines. Give each connection a quick tighten – overtightening can crack fittings.
After everything is assembled, turn the water back on and run both hot and cold to check for drips. If everything stays dry, you’ve nailed the kitchen installation.
McNeil Plumbing & Construction Services can handle the rough‑in, any necessary wall openings, and the final finish work. Our team knows UK building regs, so you avoid hidden compliance issues. Ready to start? Call us and we’ll walk you through each step, keeping your kitchen project on time and on budget.